How to Create a New Contact in an Account
https://embed.app.guidde.com/playbooks/gzmij6H4sc4iia1uPteQYW
This guide will show you how to add a new contact to a clients account in ARC.
Go to citylifestylehq.com
1. Why is contact information important?
Keeping contact's information updated ensures the right people receive the right communication and access. The contact type controls what info they get and their Customer Portal access. Staying current helps avoid delays, ensures responsibilities are managed, and strengthens client relationships.
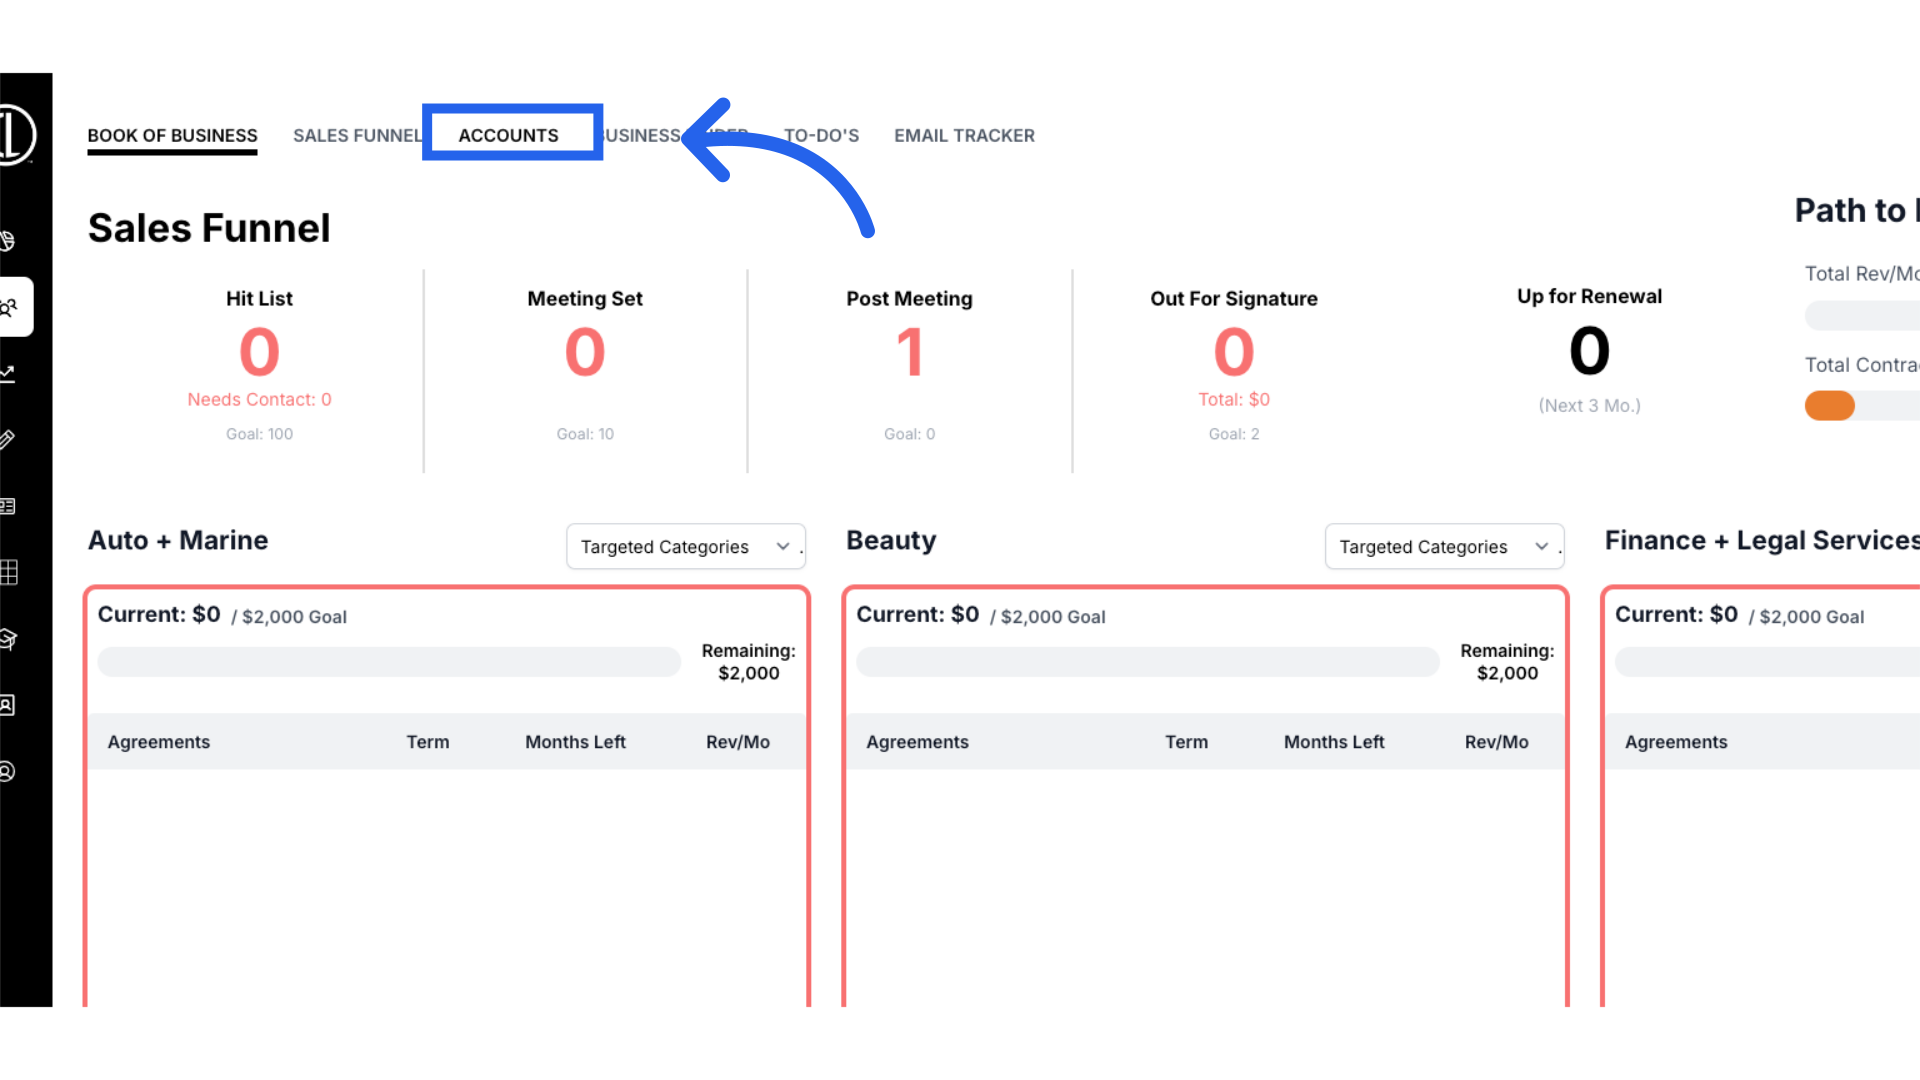
2. Click "Accounts"
In the ARC dashboard, navigate to the Accounts tab on the left side of the screen

3. Click "Accounts"
Navigate to the "Accounts" section.
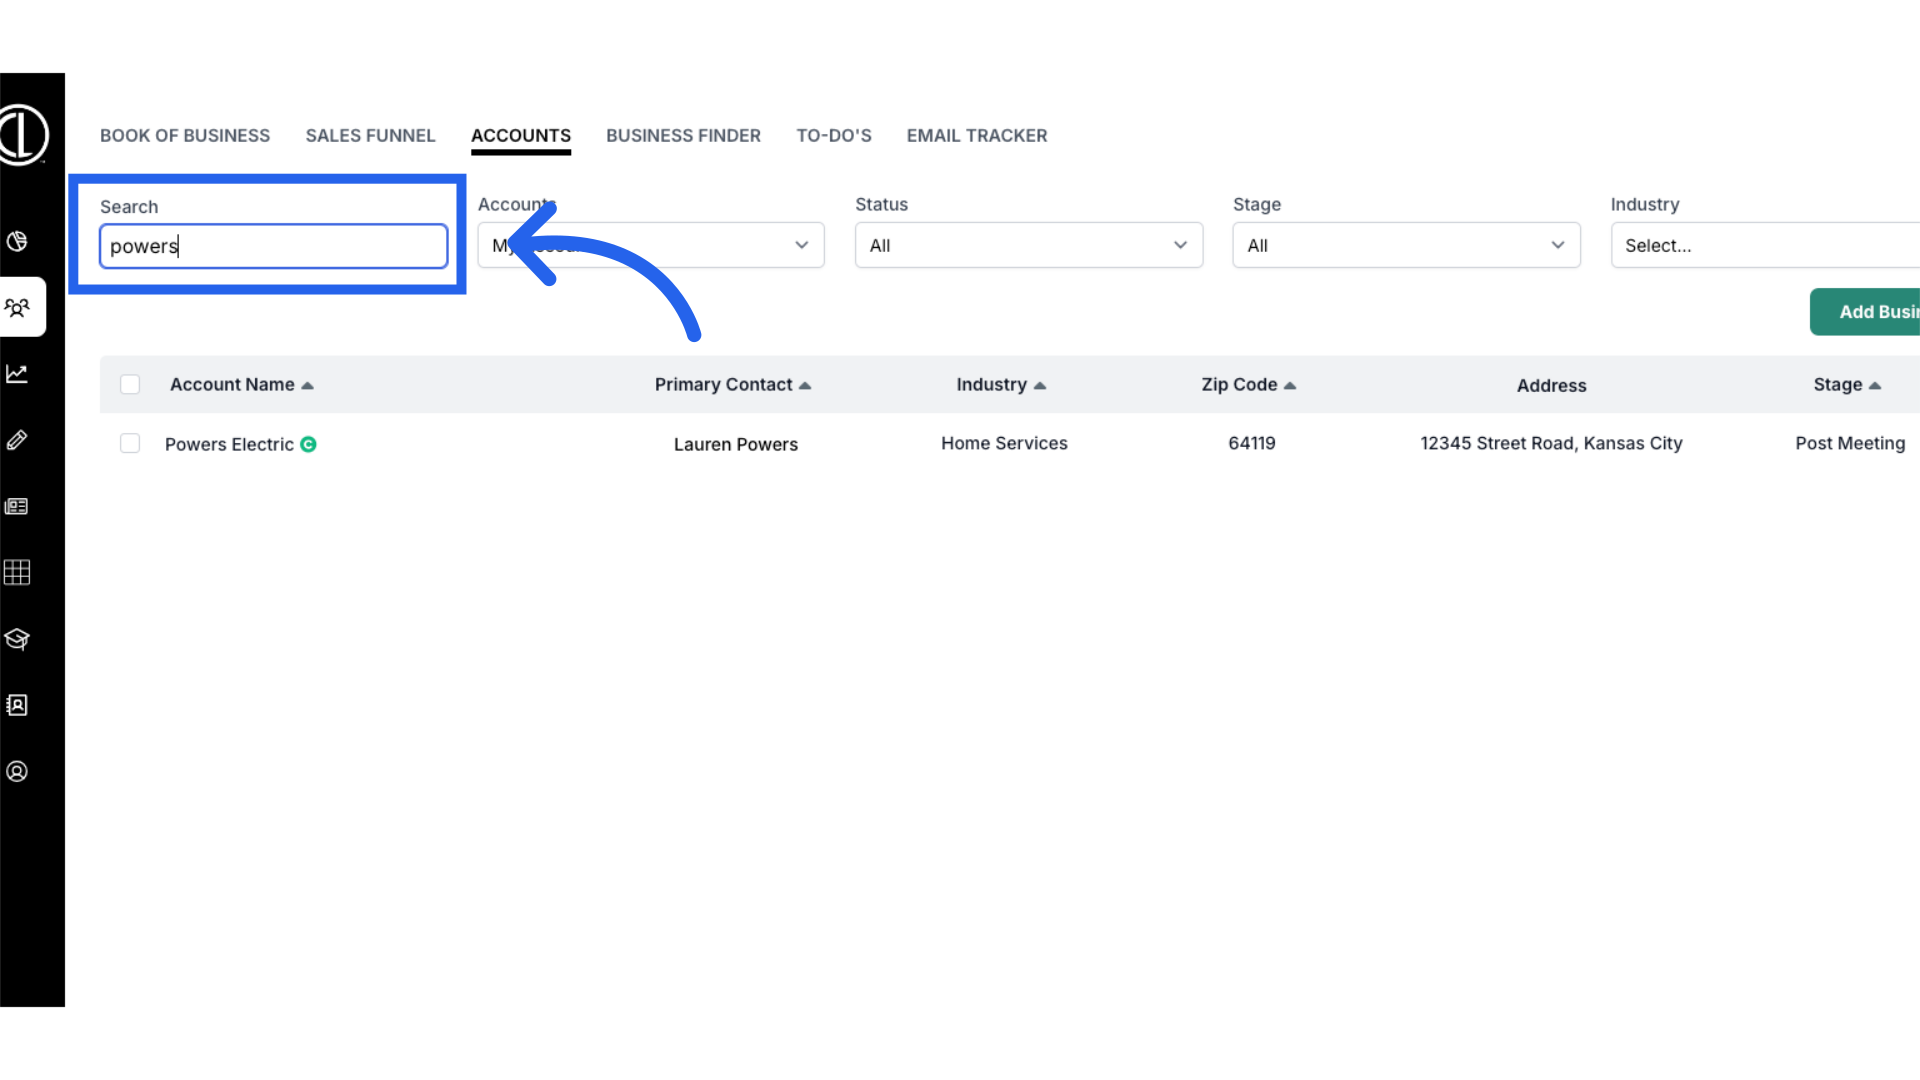
4. Search for account
Search for the account name in the search field. The other fields are not required but can be used to help filter your search.
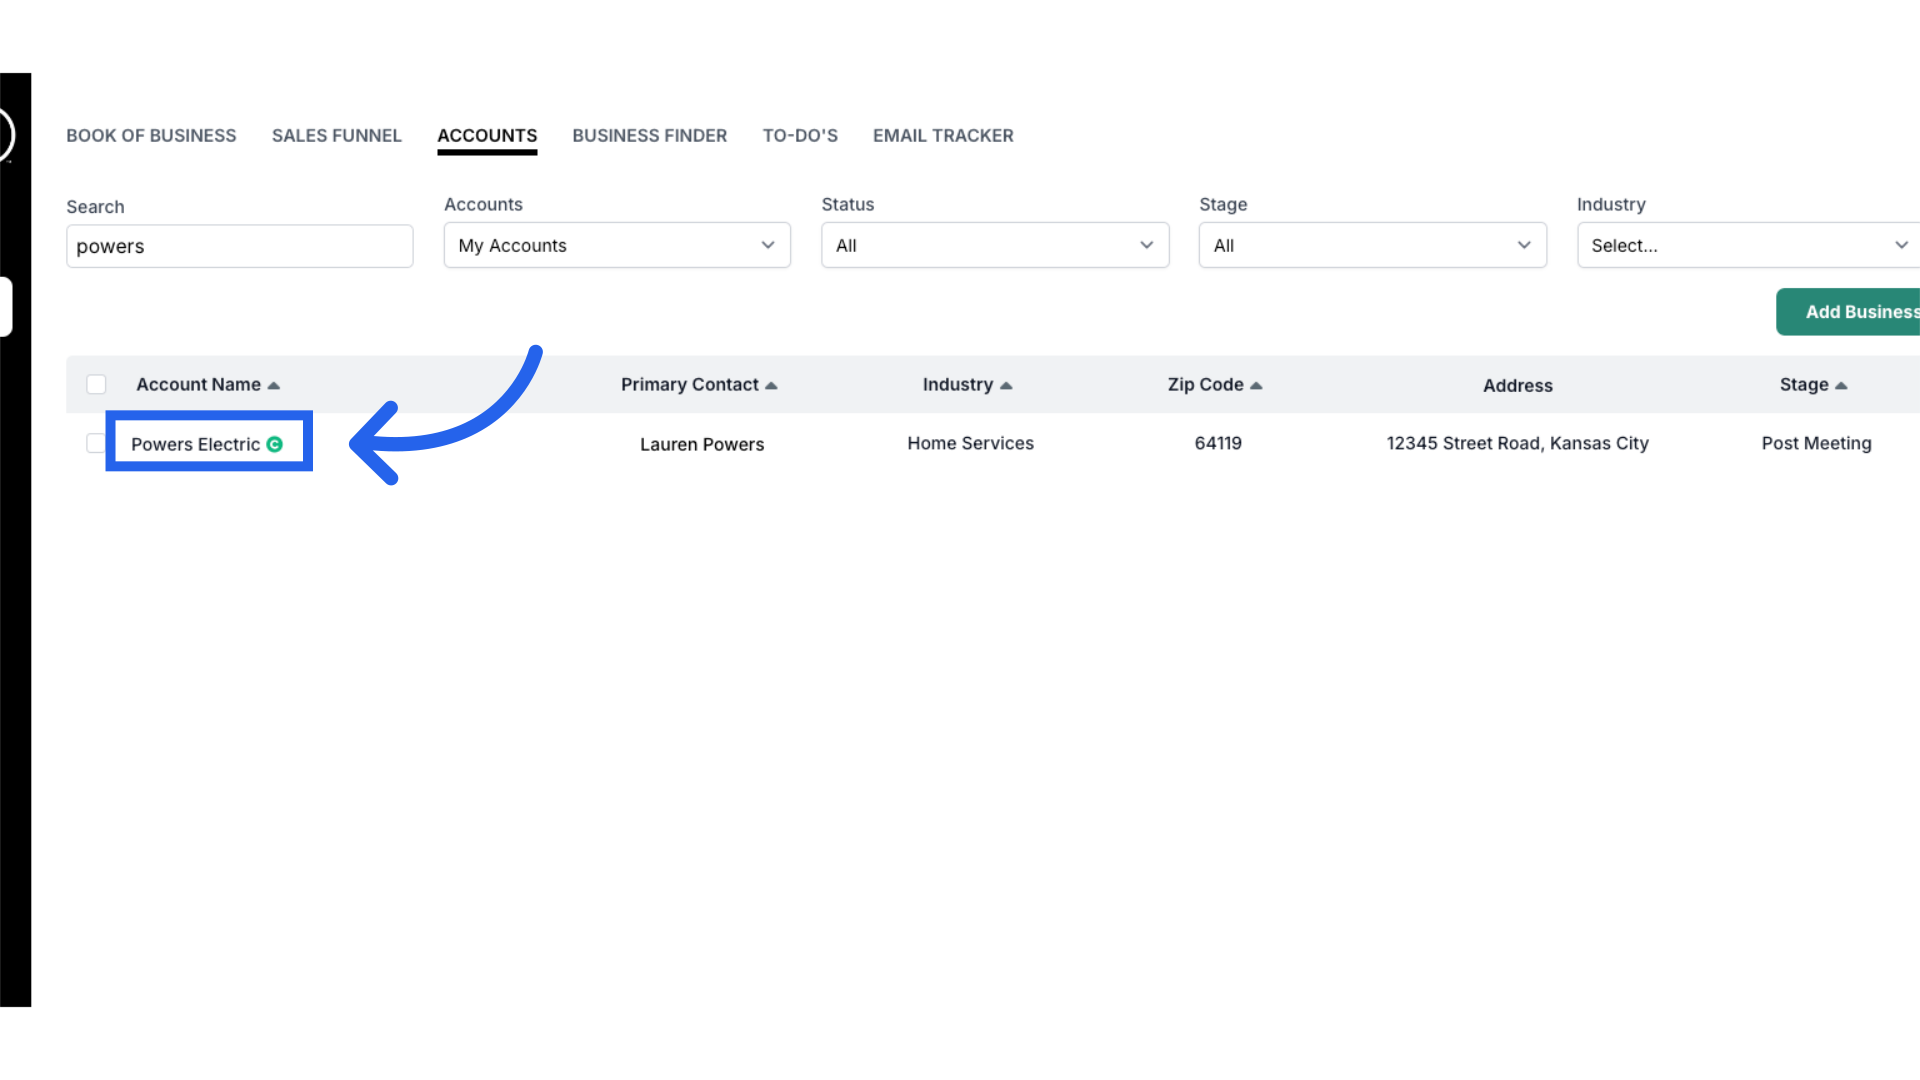
5. Click on account
Select the account by clicking on the name from the list.
6. Click "Contacts"
Access the "Contacts" section.

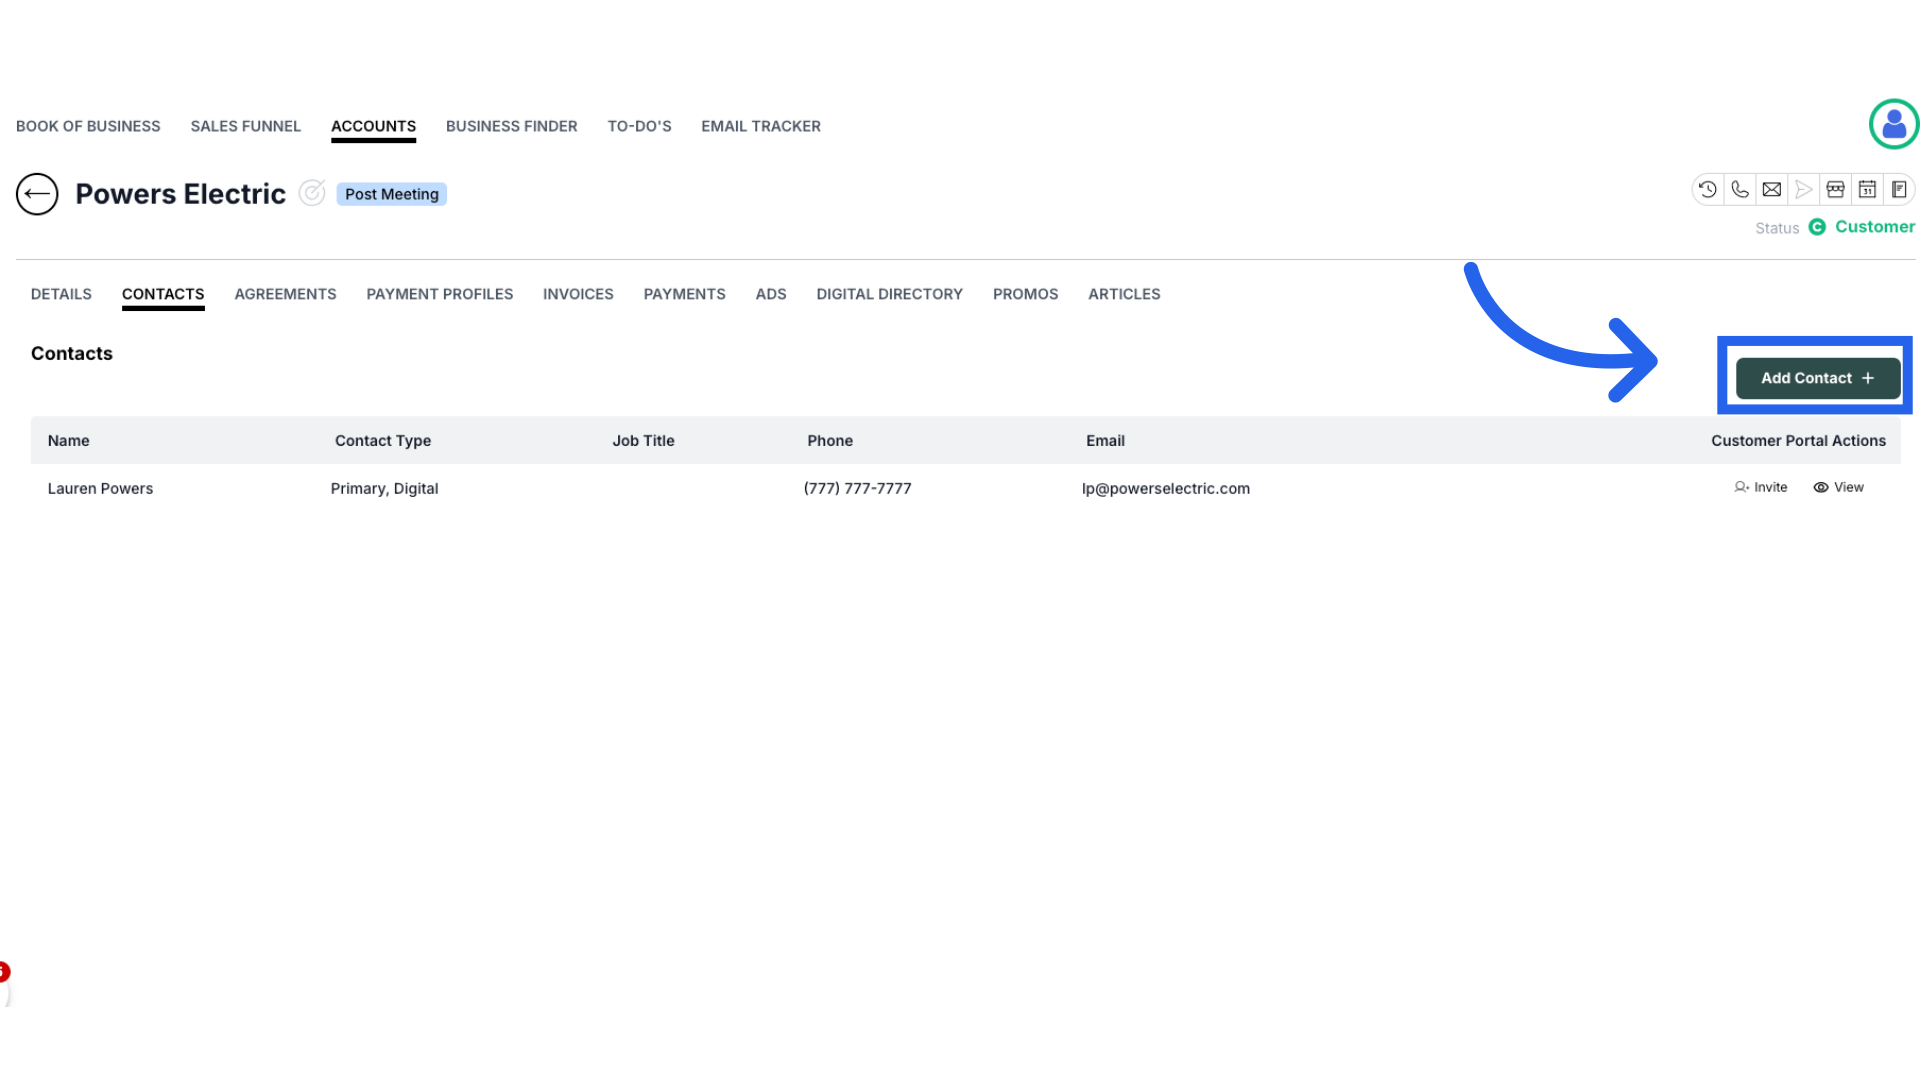
7. Click "Add Contact"
Click the green "Add Contact" button on the right side of the page.
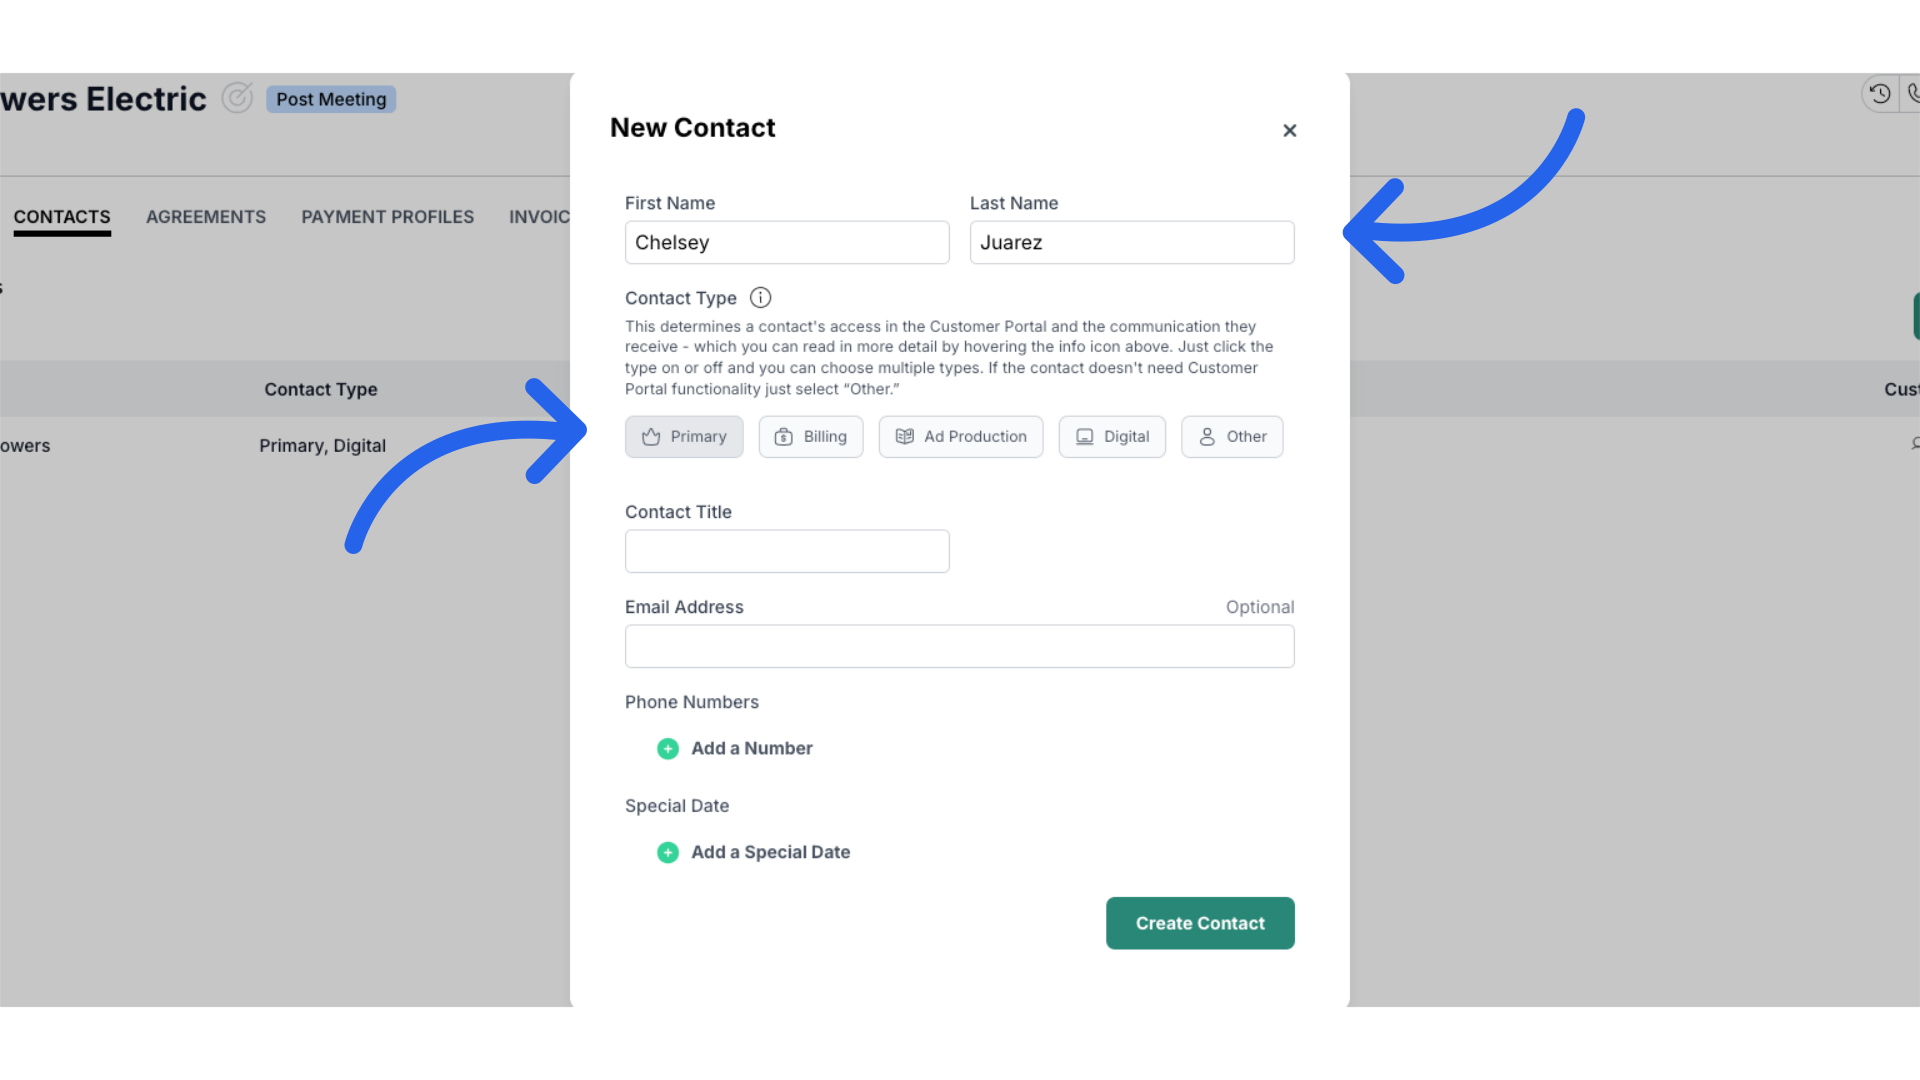
8. Enter name and select "Contact Type"
Enter the contact's first and last name and under "Contact Type" select all that apply.
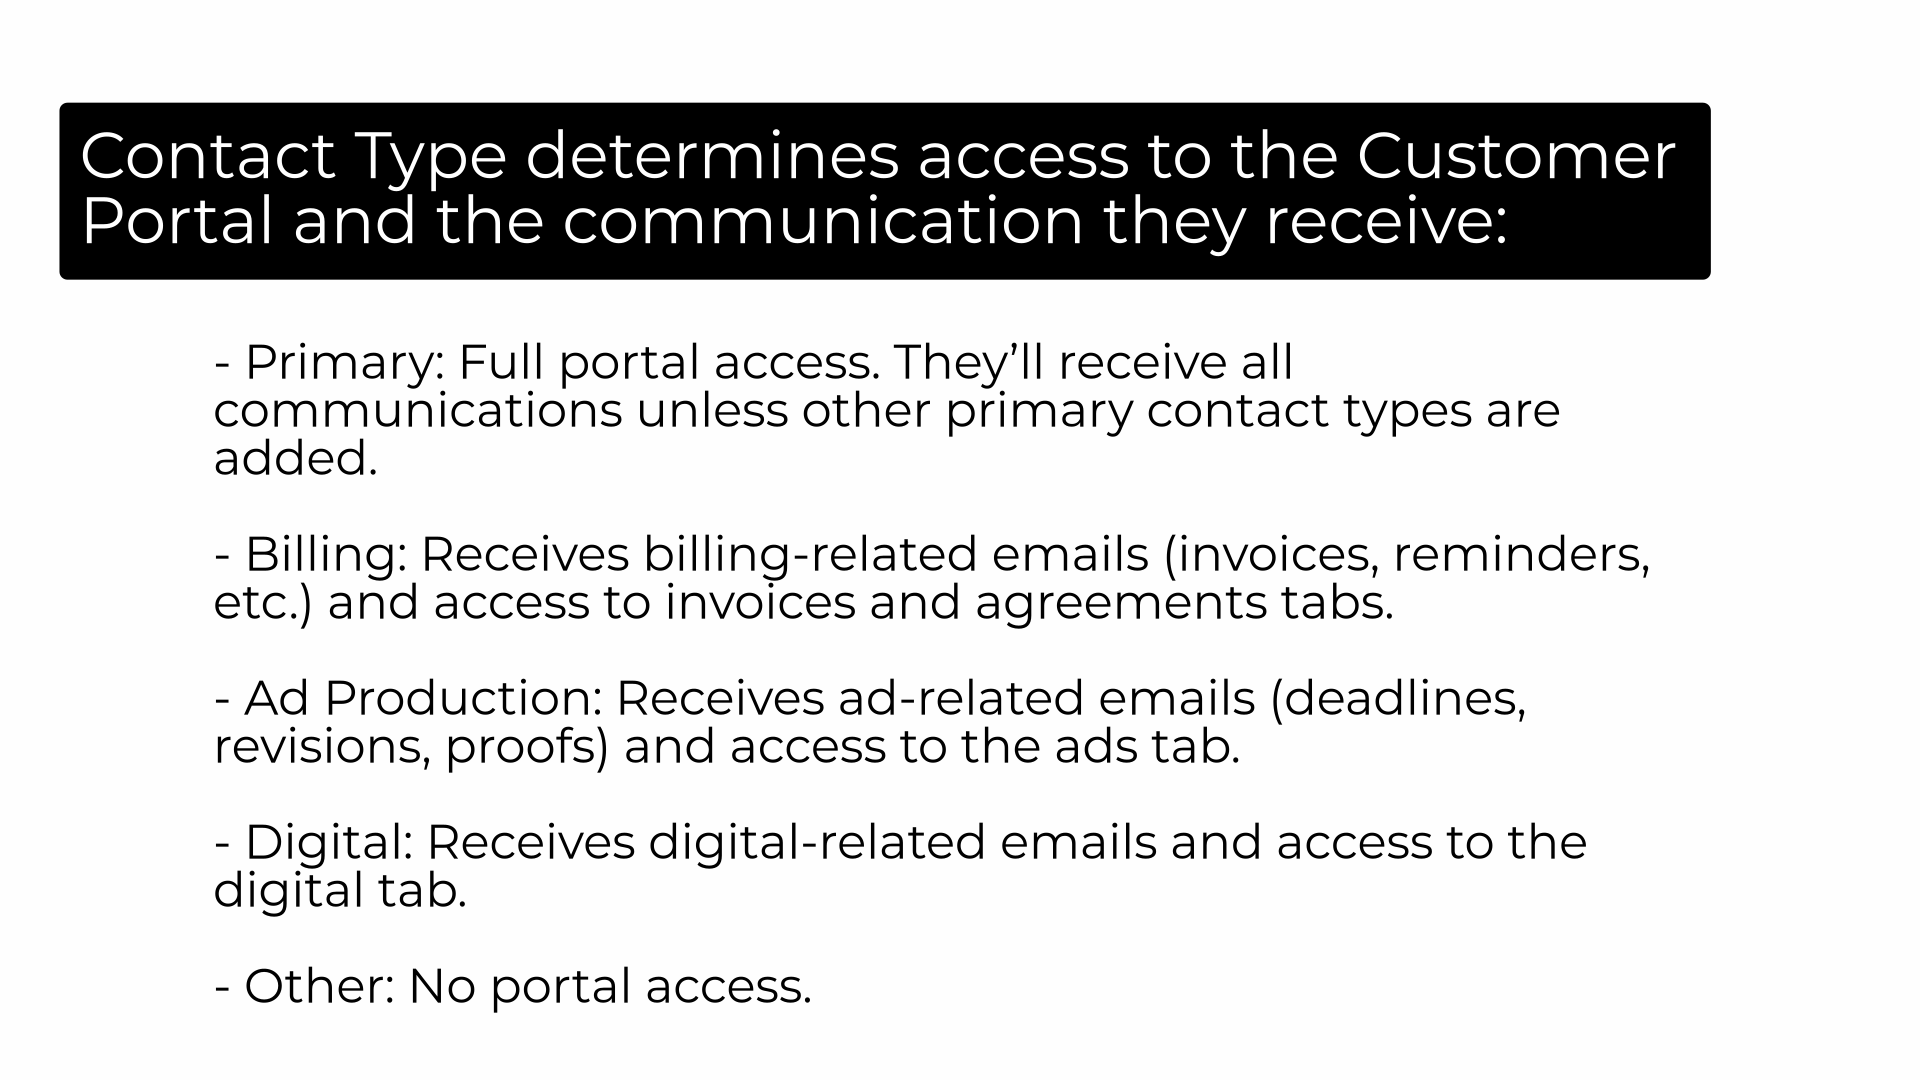
9. Contact Types
The Contact Type determines access to the Customer Portal and the communication they receive. A primary contact has full portal access and will receive all communications unless other primary contacts are added. Billing contacts receive emails such as invoices, reminders and have access to the invoices and agreements tabs. Ad Production contacts receive emails such as ad deadlines, revisions, proofs and have access to the ads tab. Digital contacts receive digital related emails and have access to the digital tab. The other contact type gives no portal access.
10. Enter contacts title and email address
Next enter the contacts title and email address if needed.
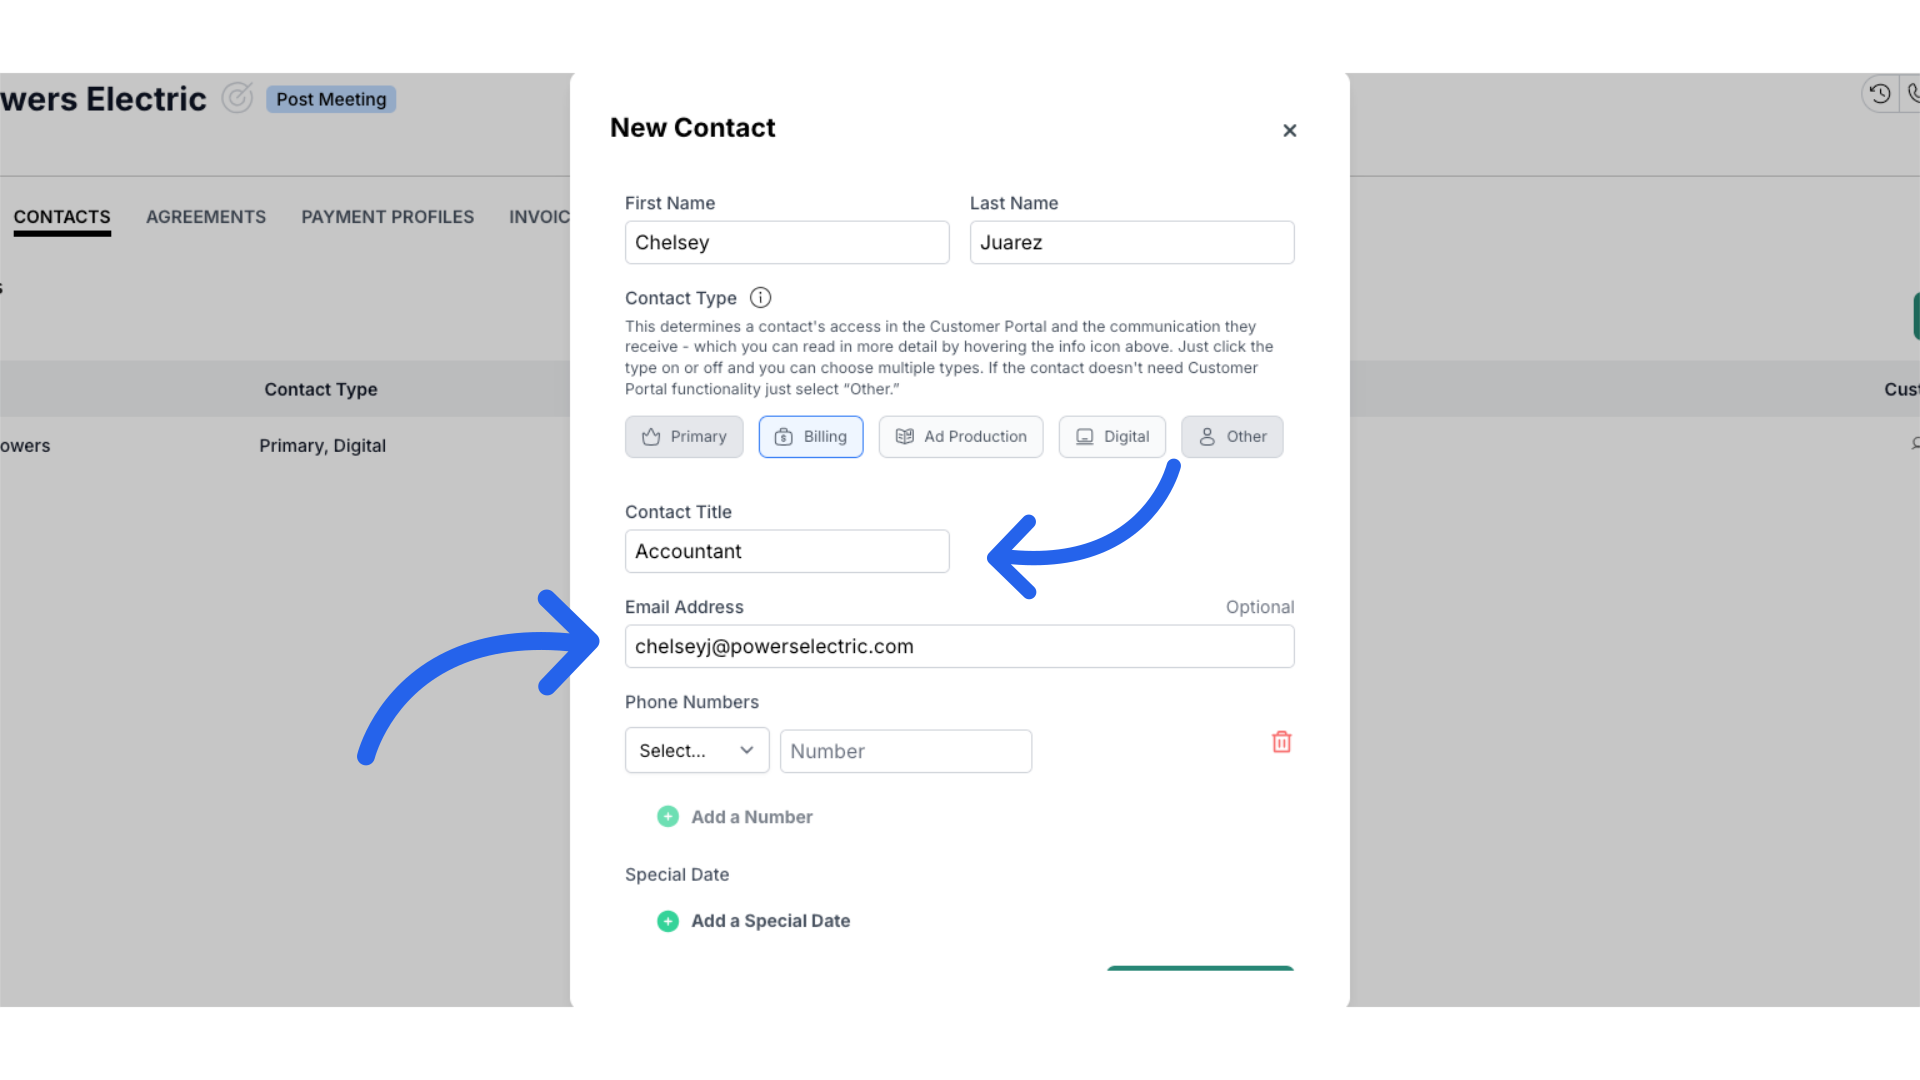
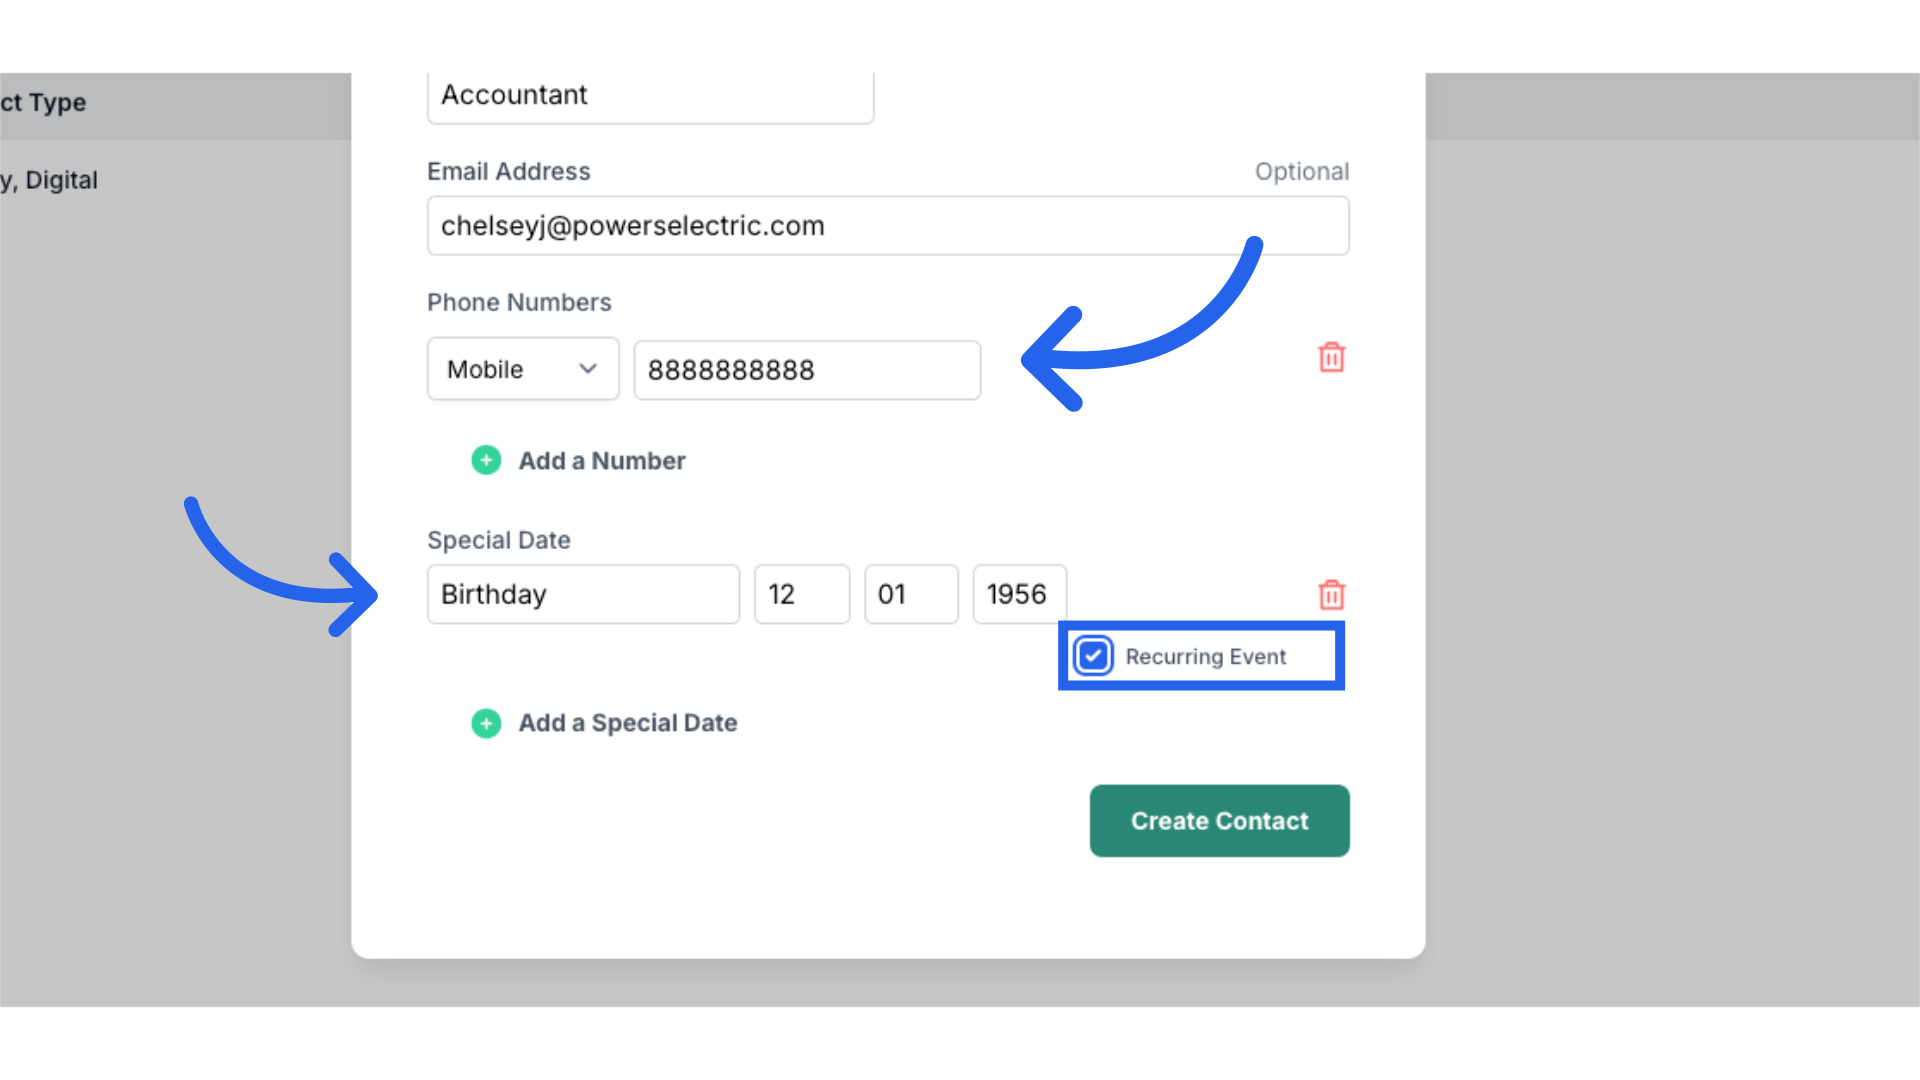
11. Enter contacts phone number and any special dates to remember
Next fill in the contacts phone number. You can also add in a special date such as their birthday or the day they signed their contract. Then note if this is a recurring event.
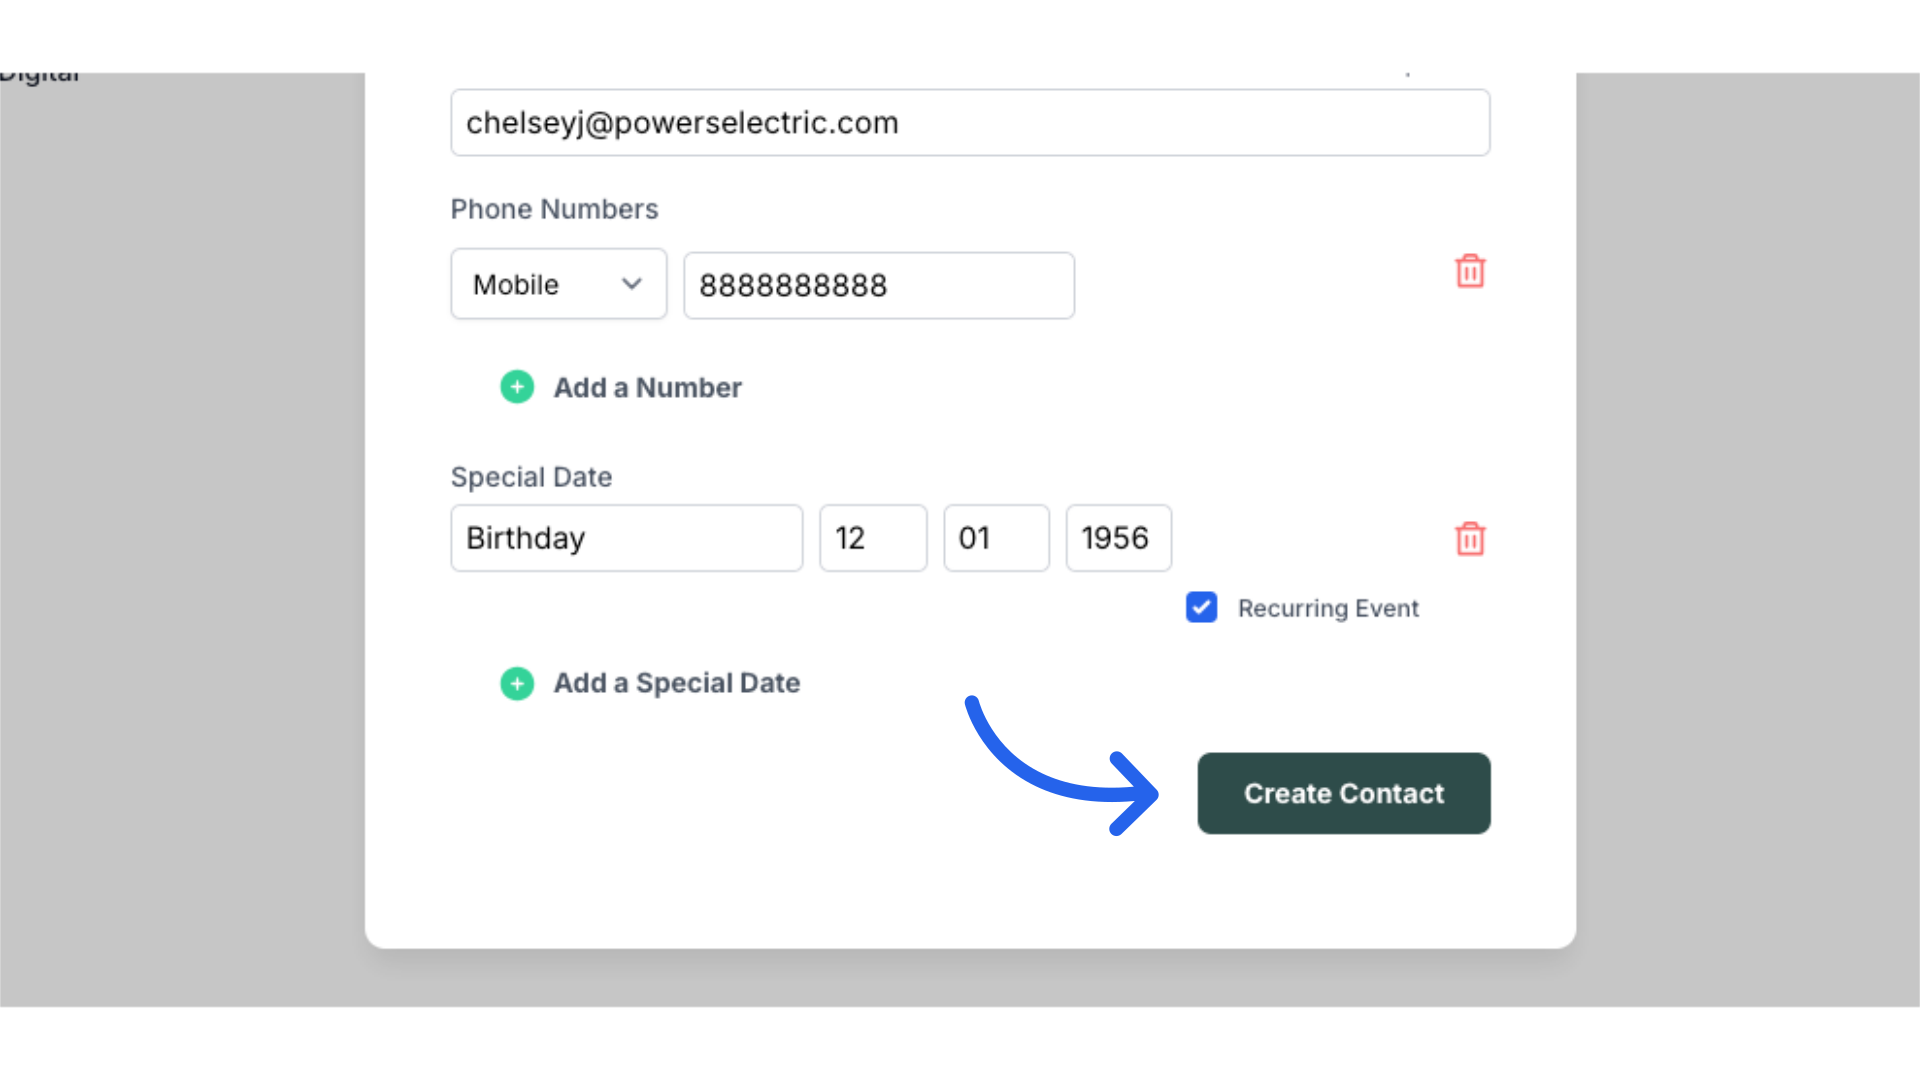
12. Click "Create Contact"
Finalize and create the new contact.
 This guide explained how to add an additional contact to a clients account in ARC.