How to Send an Email to a Contact in ARC
https://embed.app.guidde.com/playbooks/6iViY7N9aTseqkvKDiVbKD
This guide will walk you through how to send an email to a contact through ARC.
Go to citylifestylehq.com
1. Sending an Email to a Customer
Sending an email to a contact in ARC is a great way to track the communication between contacts in one space. You can view if an email has been delivered, rejected, opened, viewed, and clicked.
2. Accounts Page
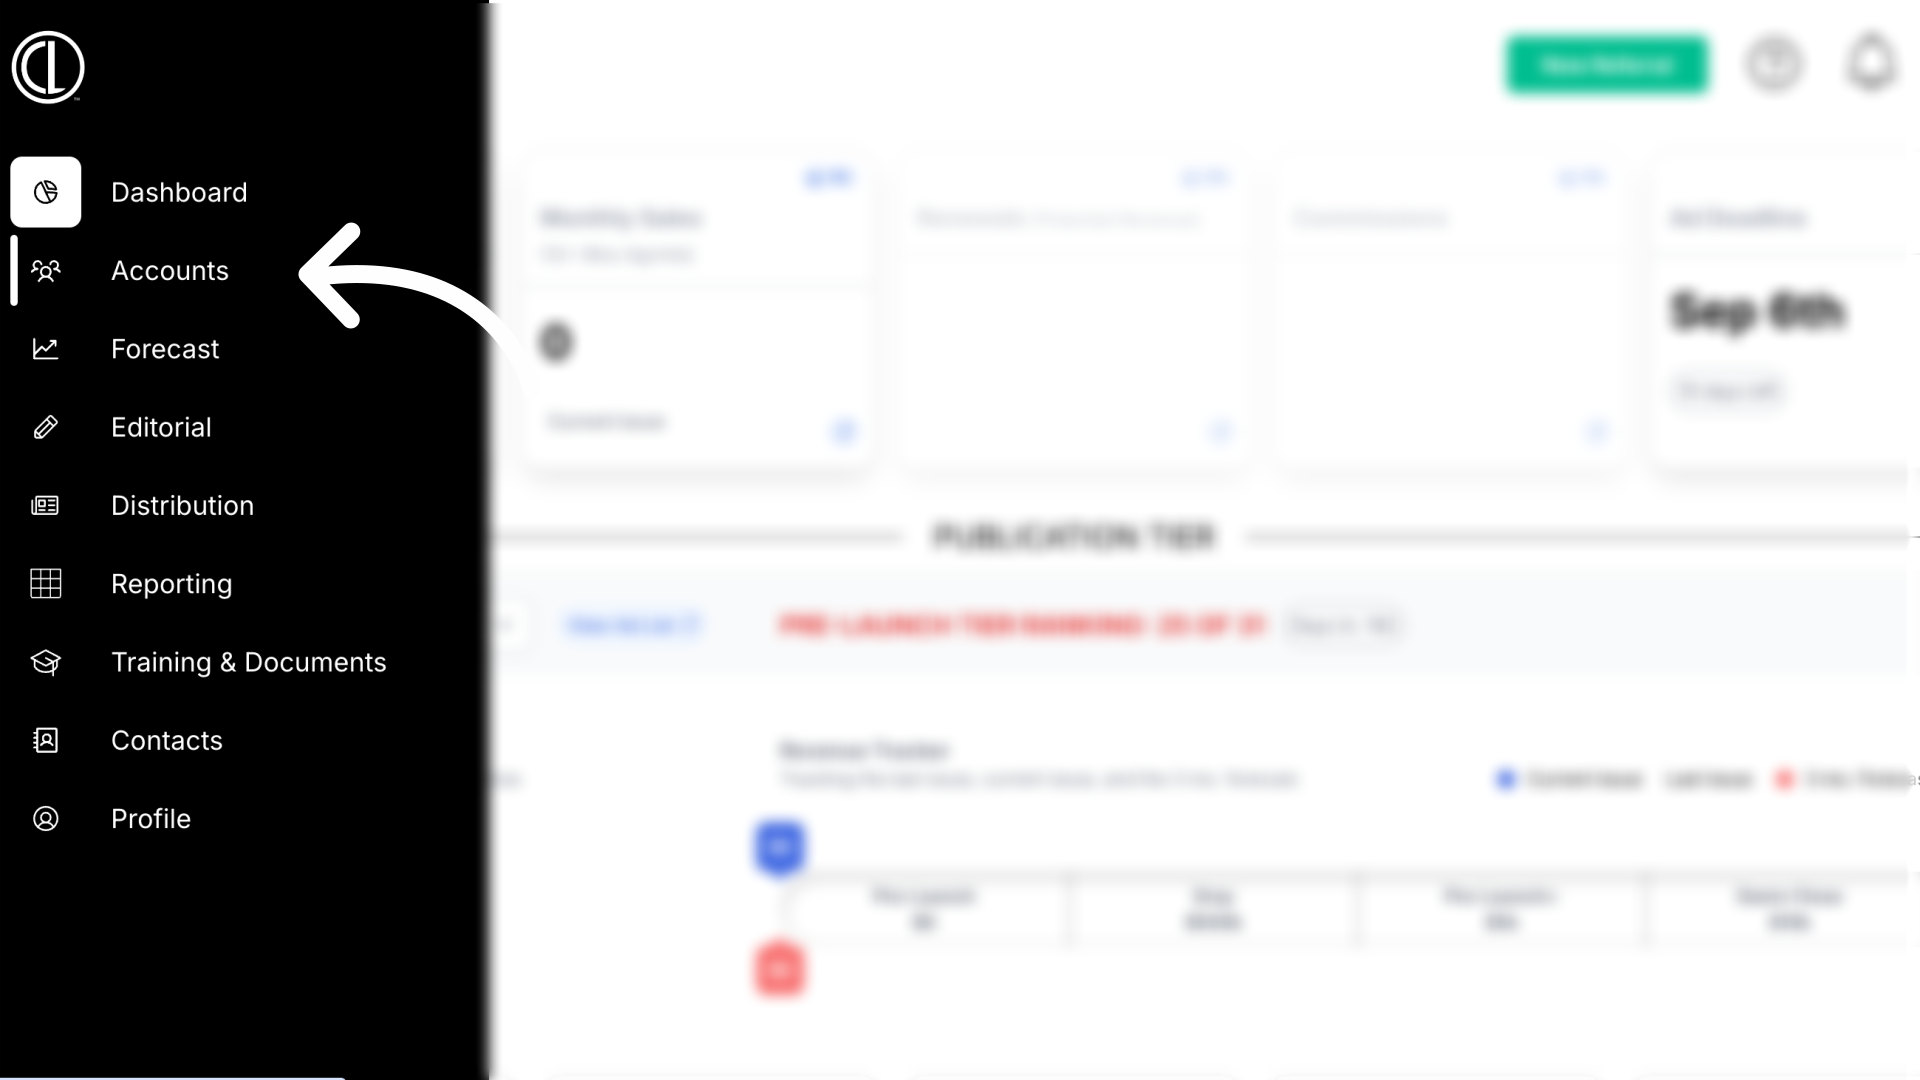
In ARC navigate to the Accounts page on the left hand side
3. Click "Accounts"
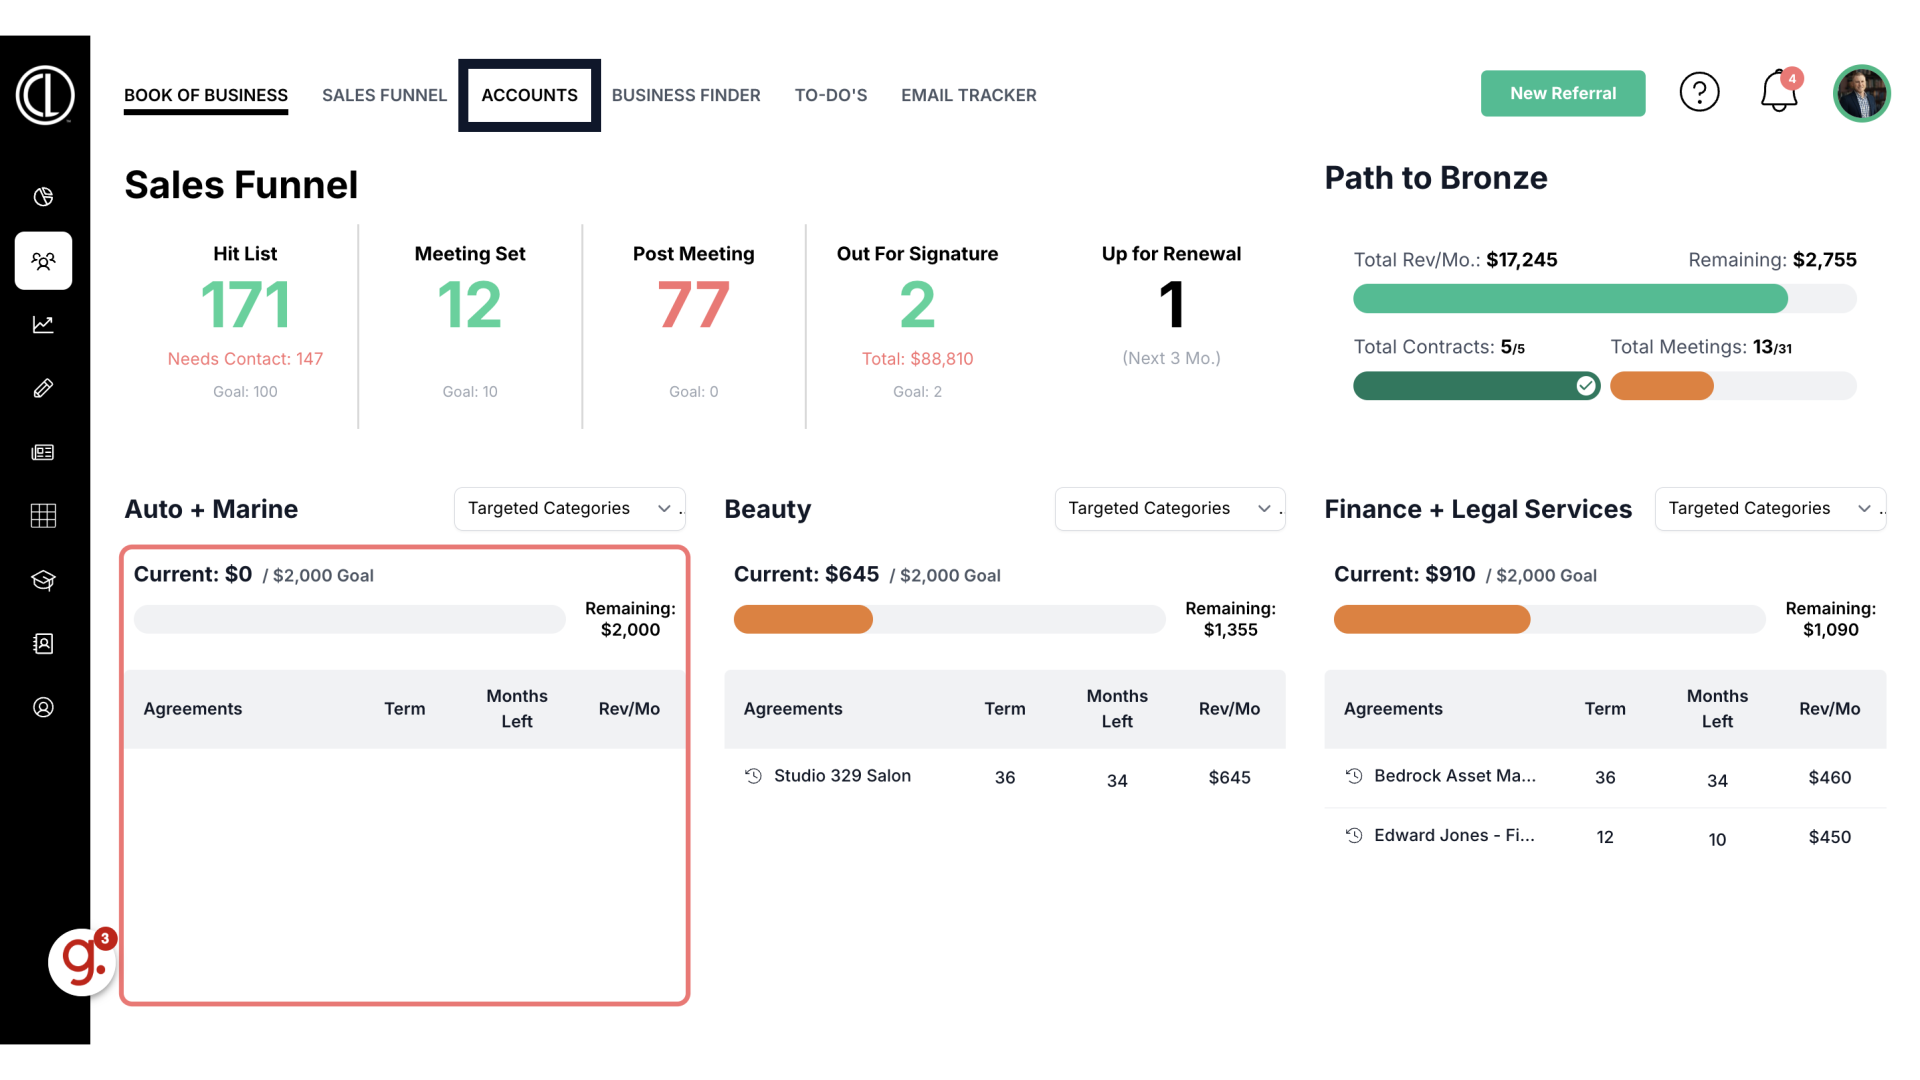
Click the "Accounts" tab at the top of the page
4. Search for Account
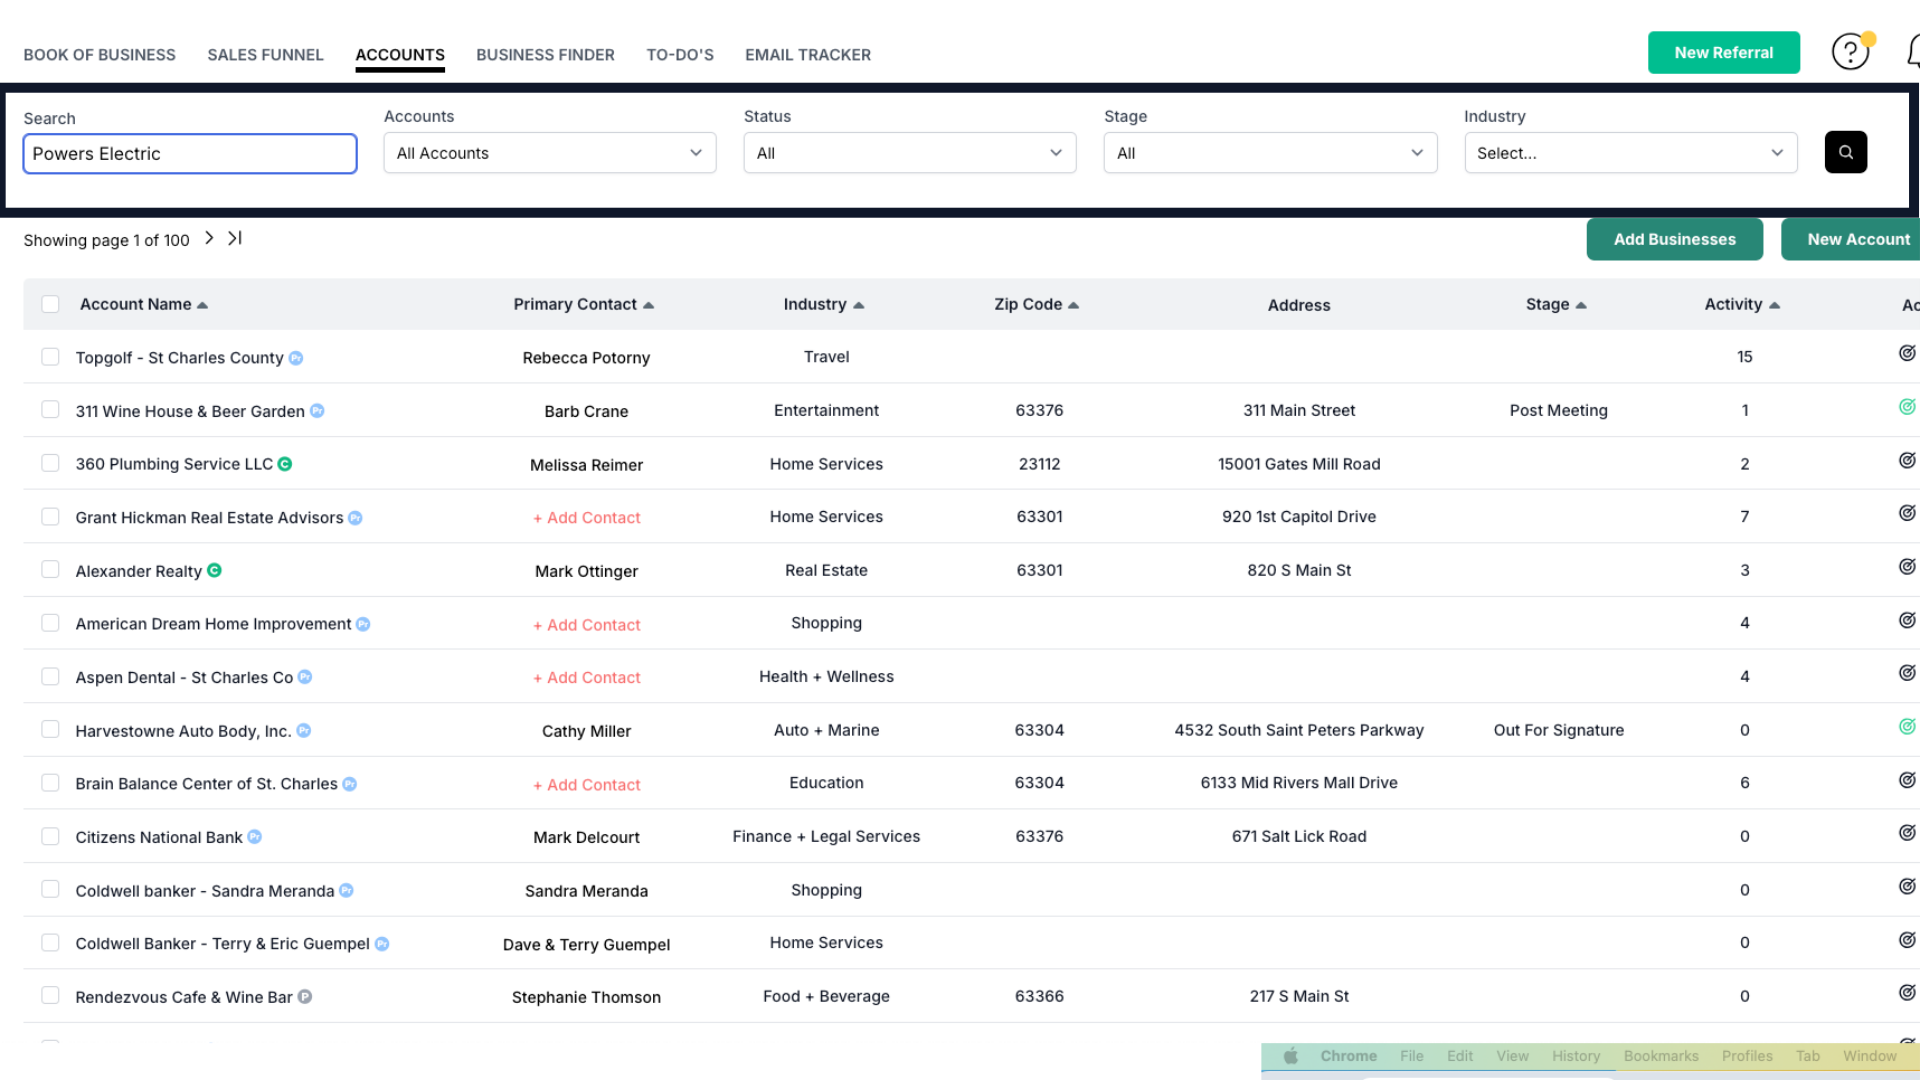
Search for the account name in the search field. The other fields are not required but can be used to help filter your search.
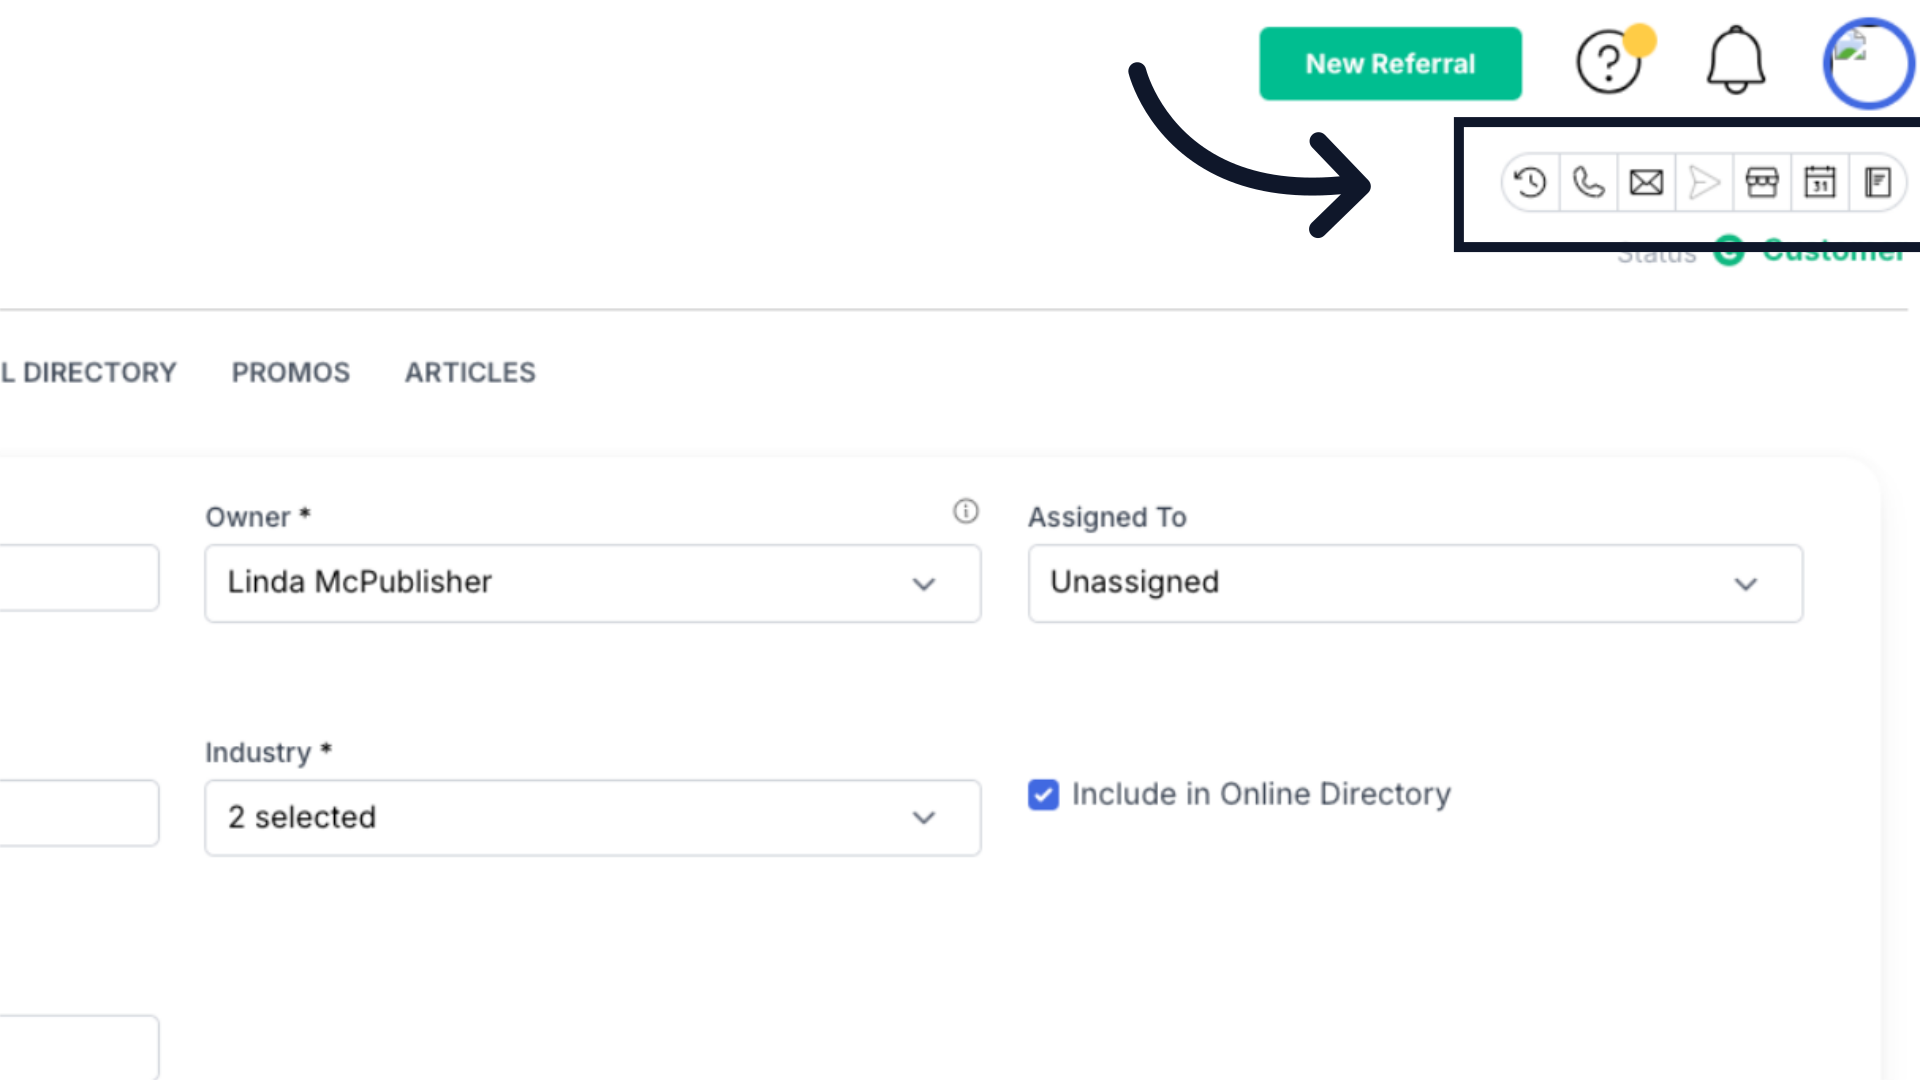
5. Click envelope icon
Click on the account and select the envelope icon in the top right corner
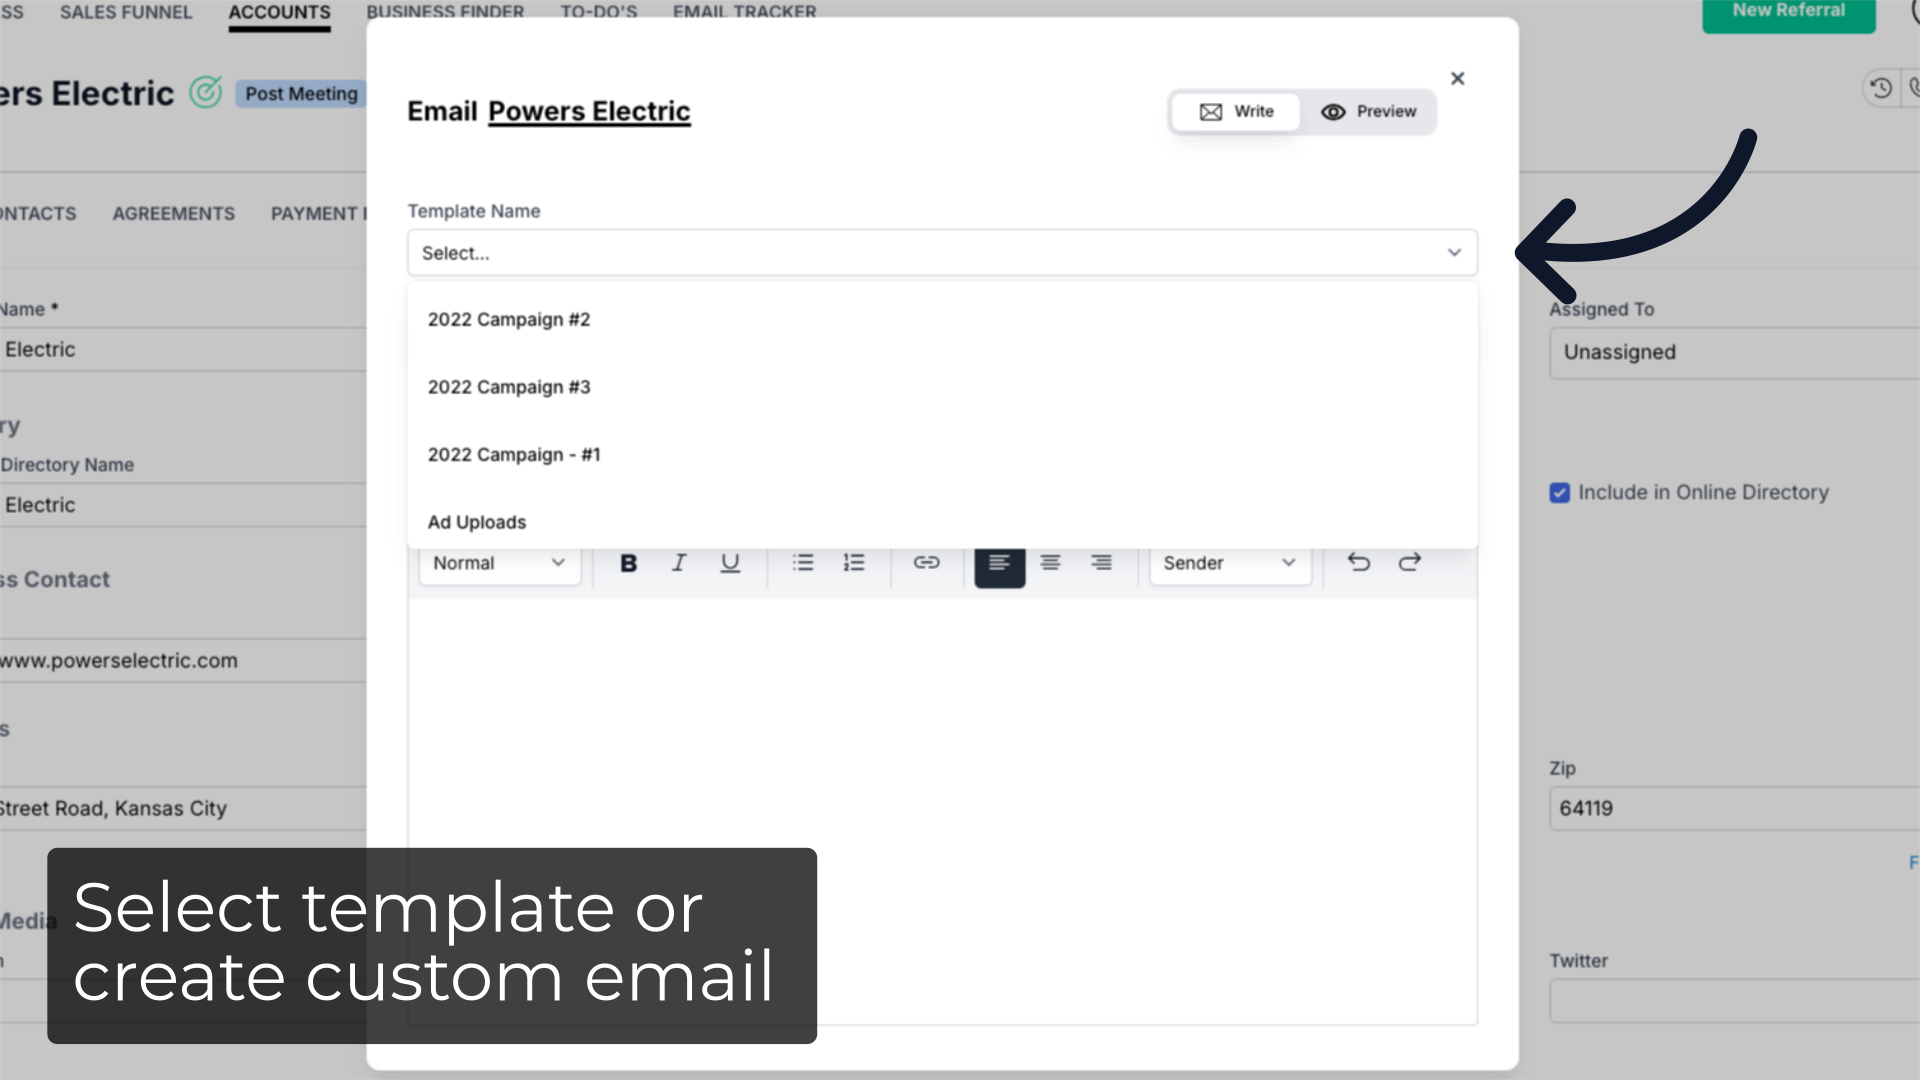
6. Select template or create custom email
In the pop up window, you can select from pre-saved templates or create a custom email.
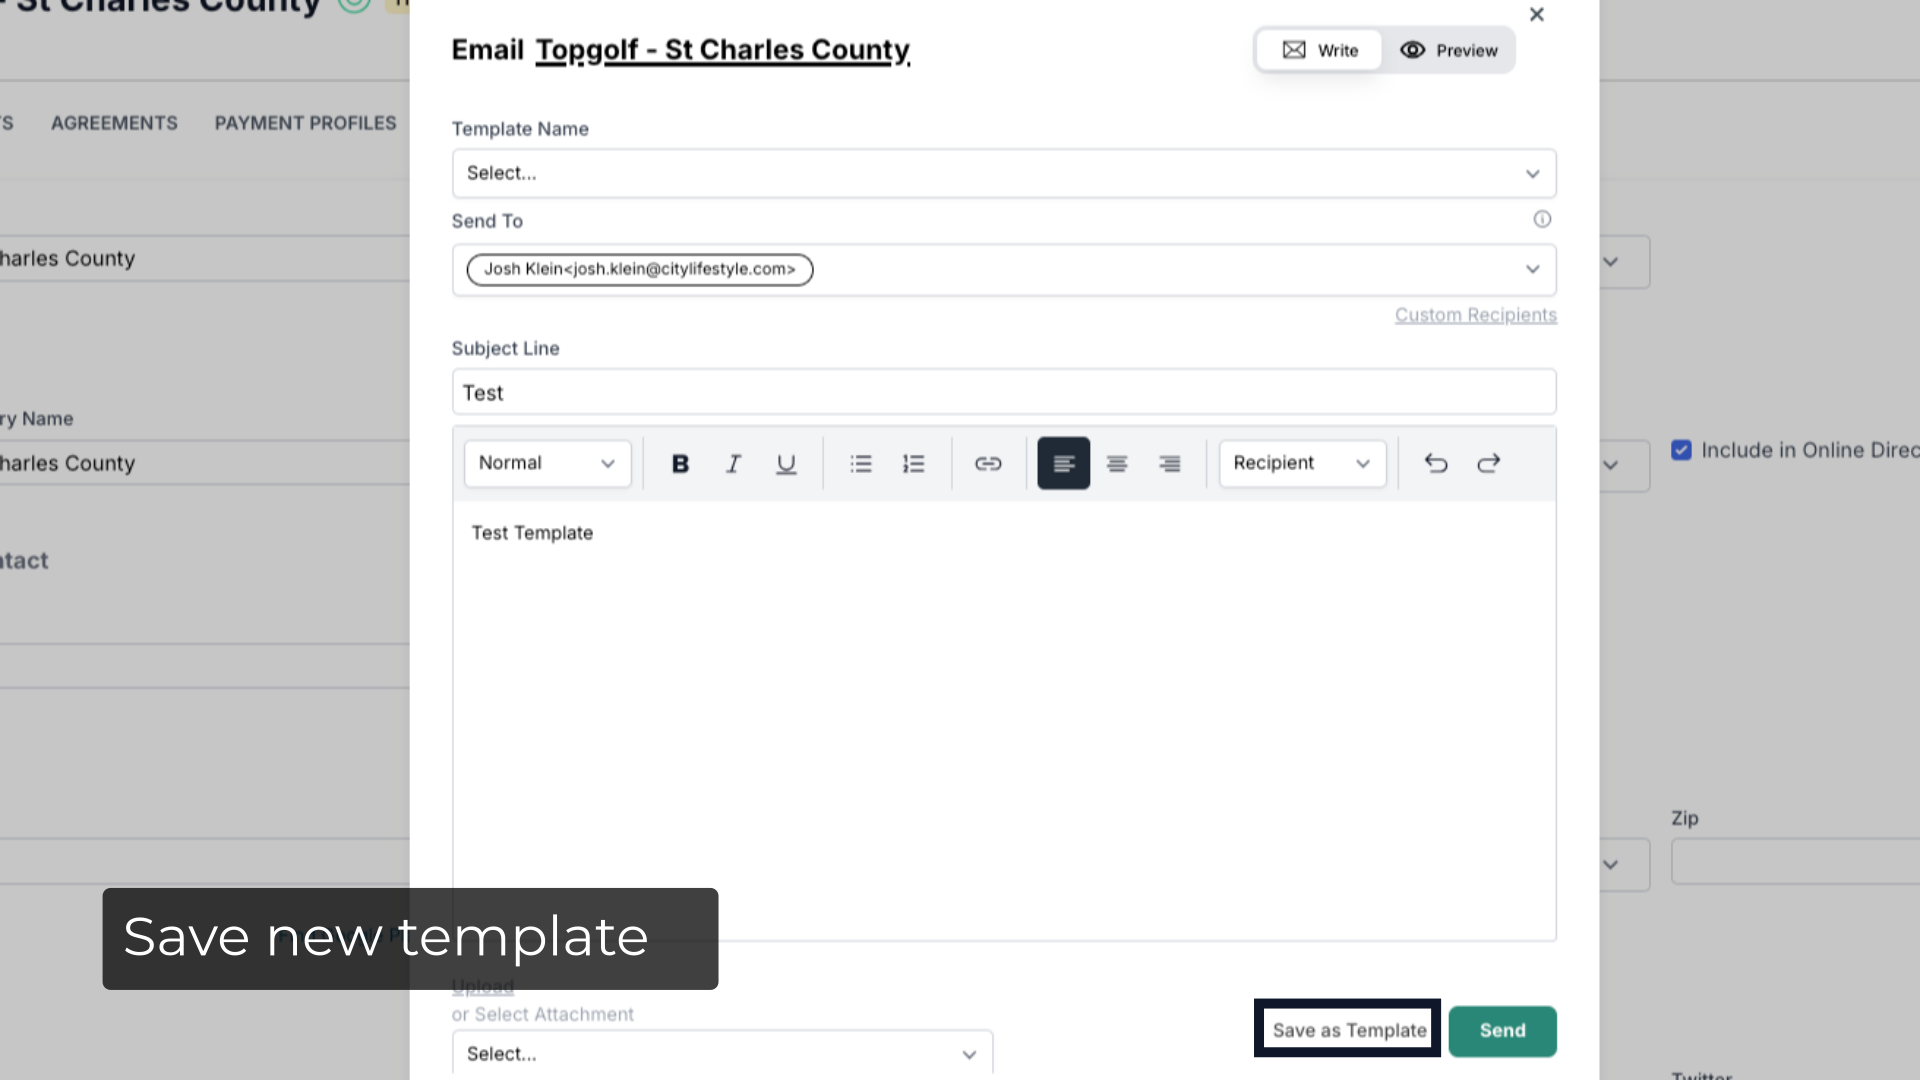
7. Save new template
You can also create a new template by clicking Save as Template next to the Send button.
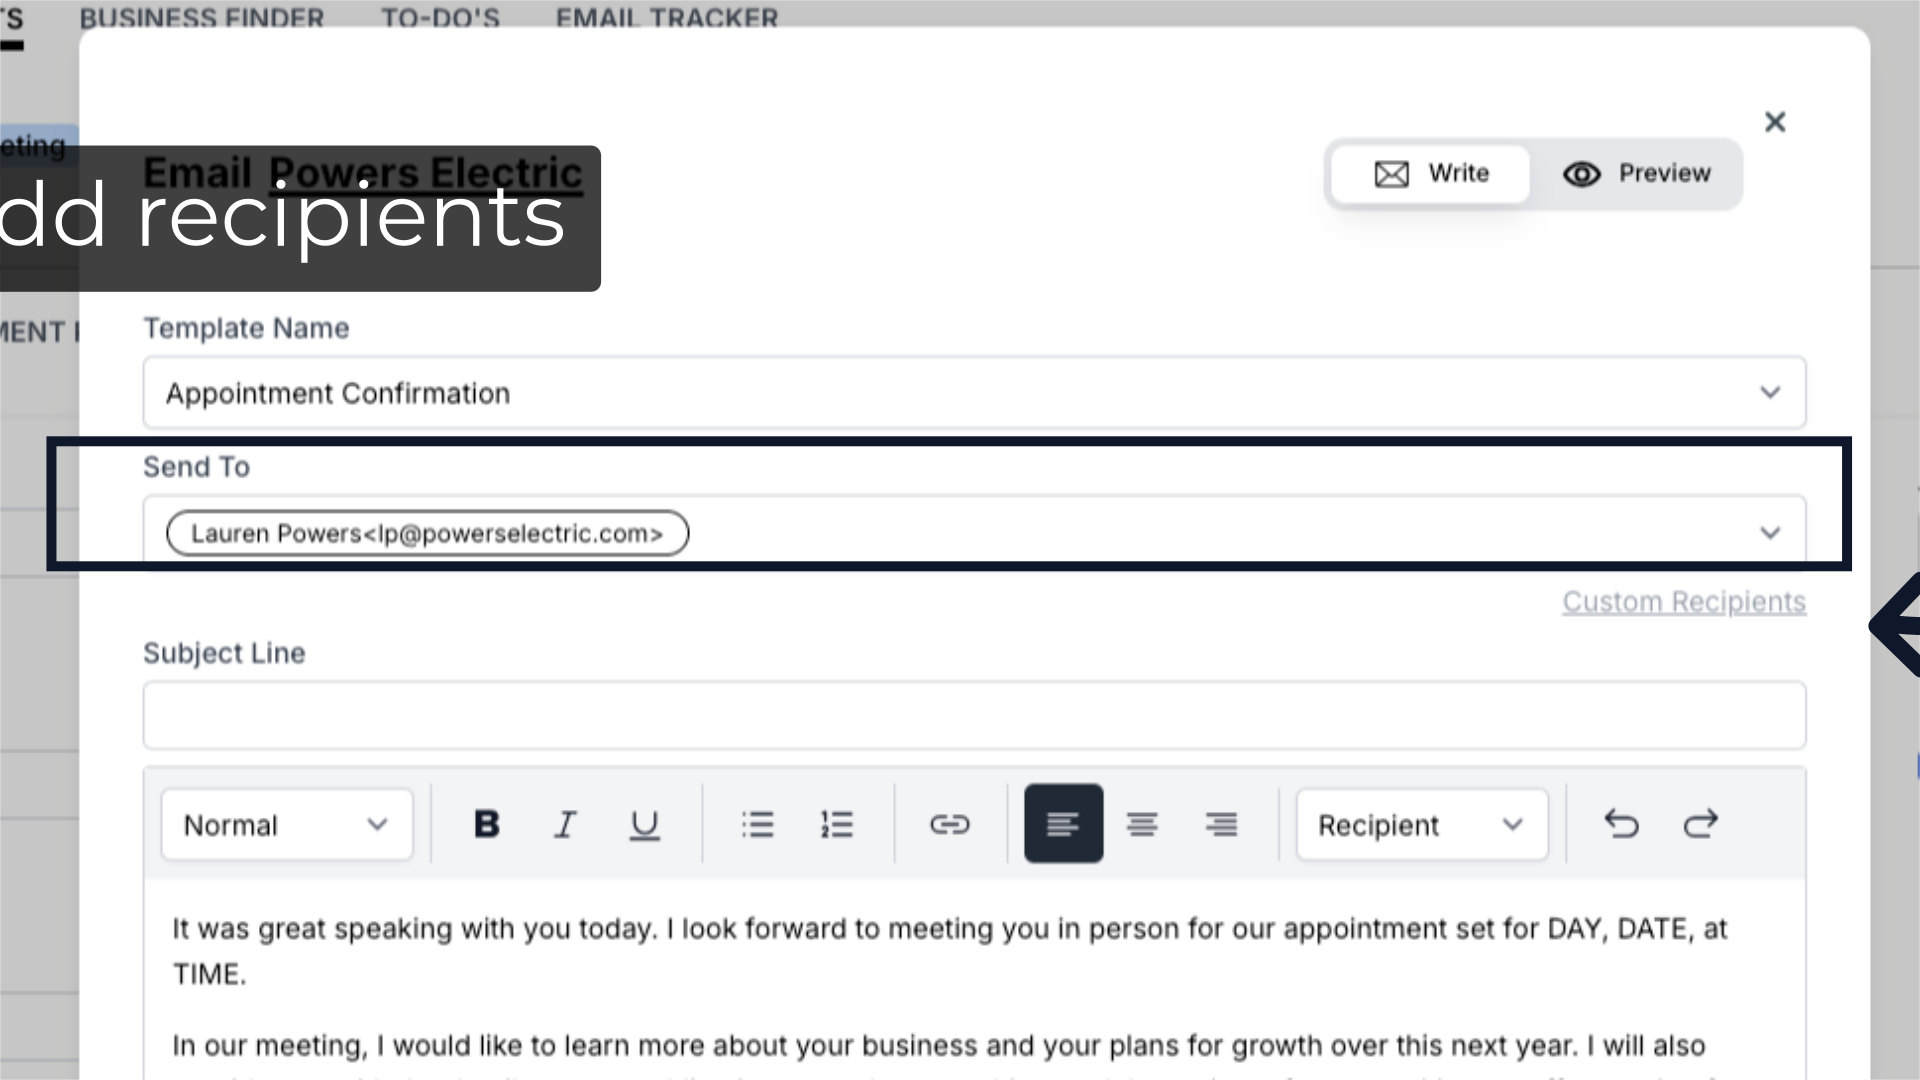
8. Add recipients
Choose who the recipient you want to send the email to from the drop down menu. You can also click on the Custom Recipient link to enter a custom recipient email.
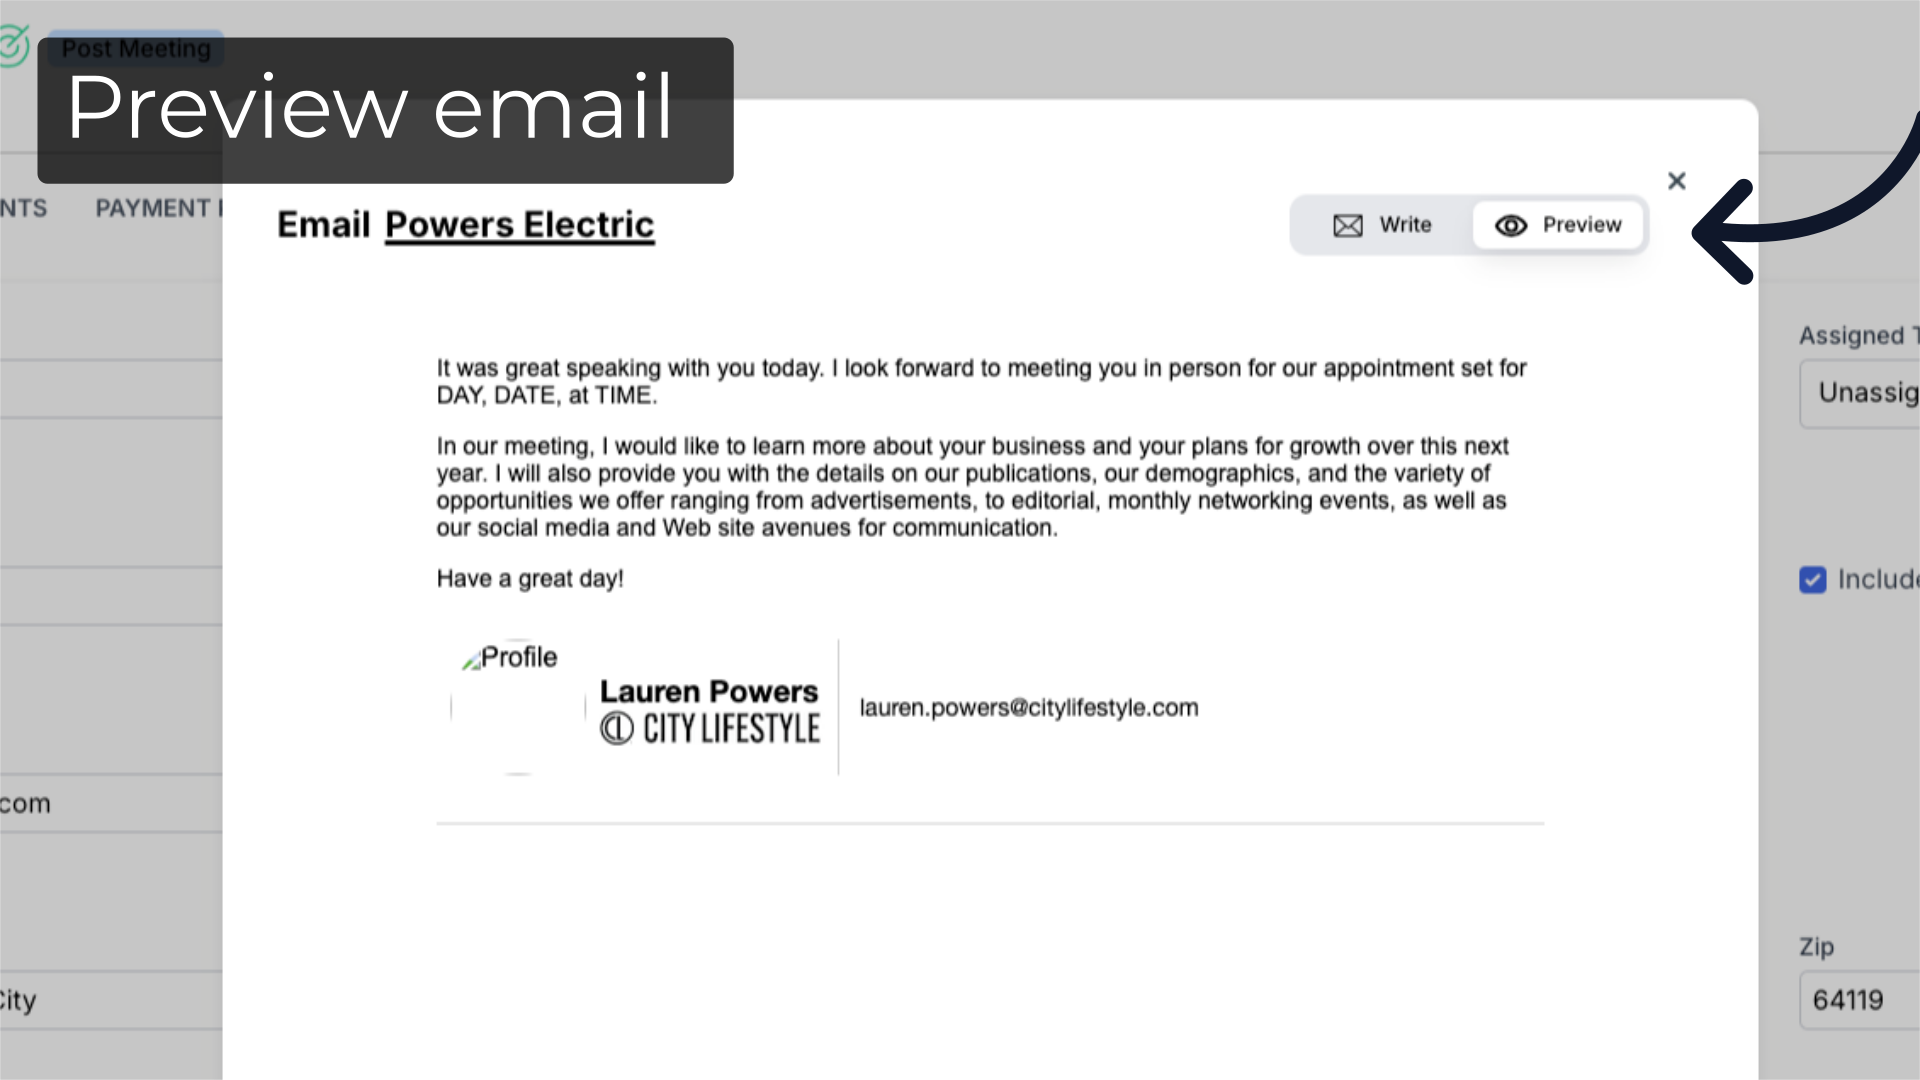
9. Preview email
If you want to preview the email before sending, click the Preview button at the top right of the Email box. Review your email content in the preview mode. To return to editing, click the Write button next to the Preview button.
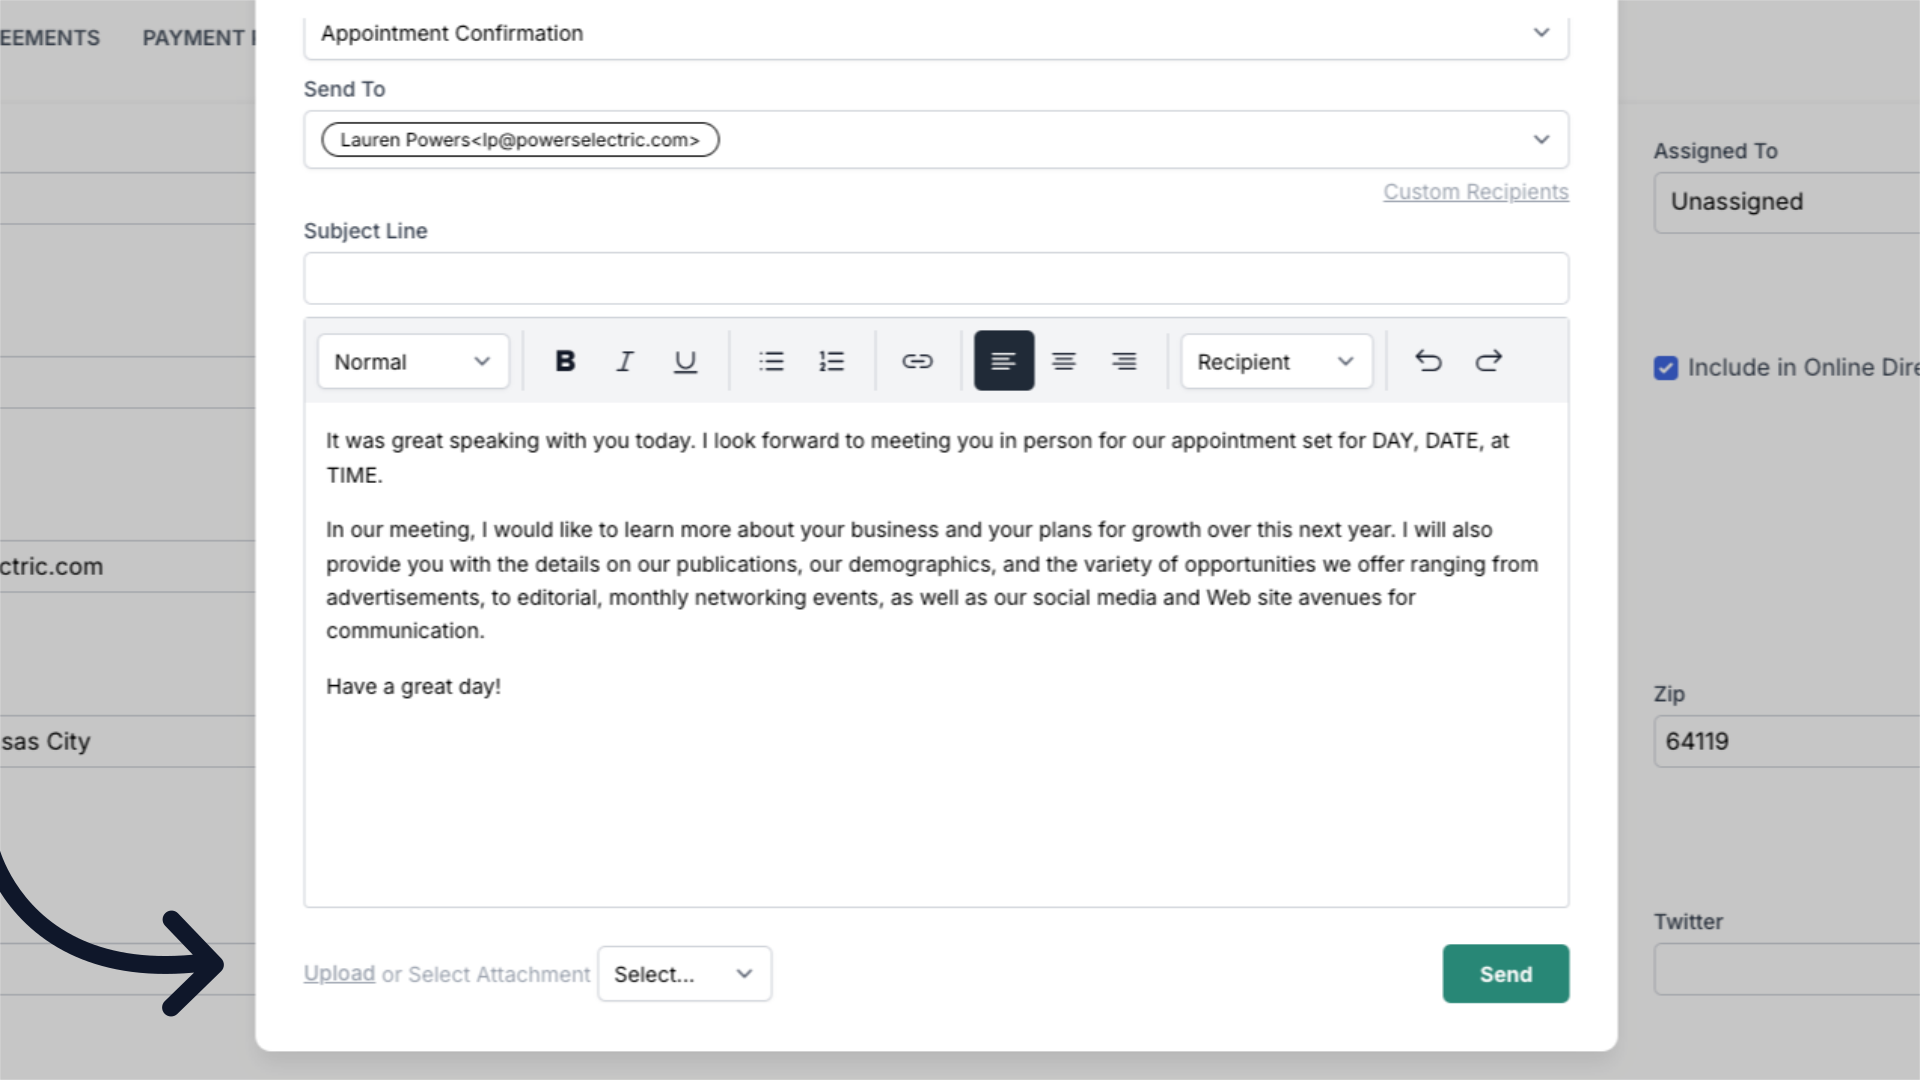
10. Add attachment
Upload or select any attachments if needed by using the attachment options available in the Email box.
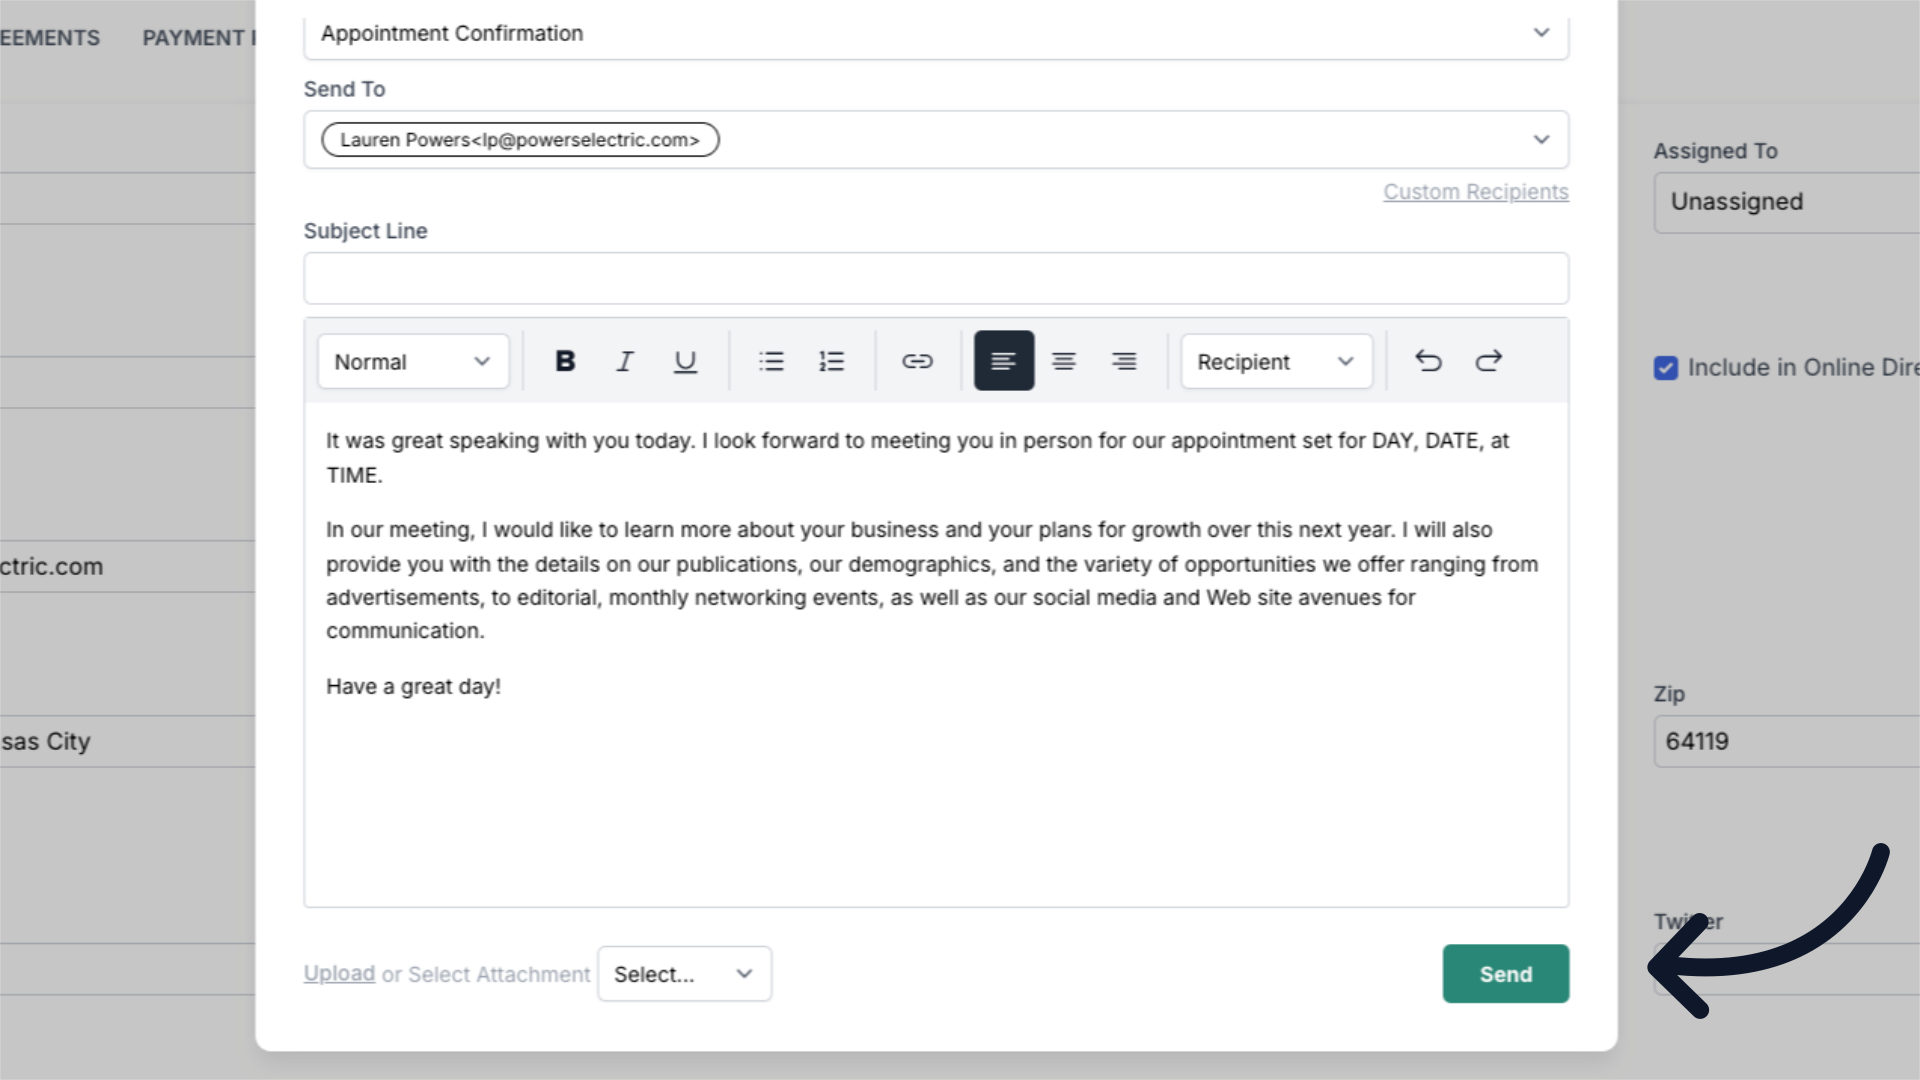
11. Click "Send"
Once you are satisfied with the email content click the green Send button located at the bottom right.
 This guide covered the process of sending and email to a contact in ARC.